
No-Bake Biscoff Granola Bars

Last Updated on 2 October 2026 by Karolyn
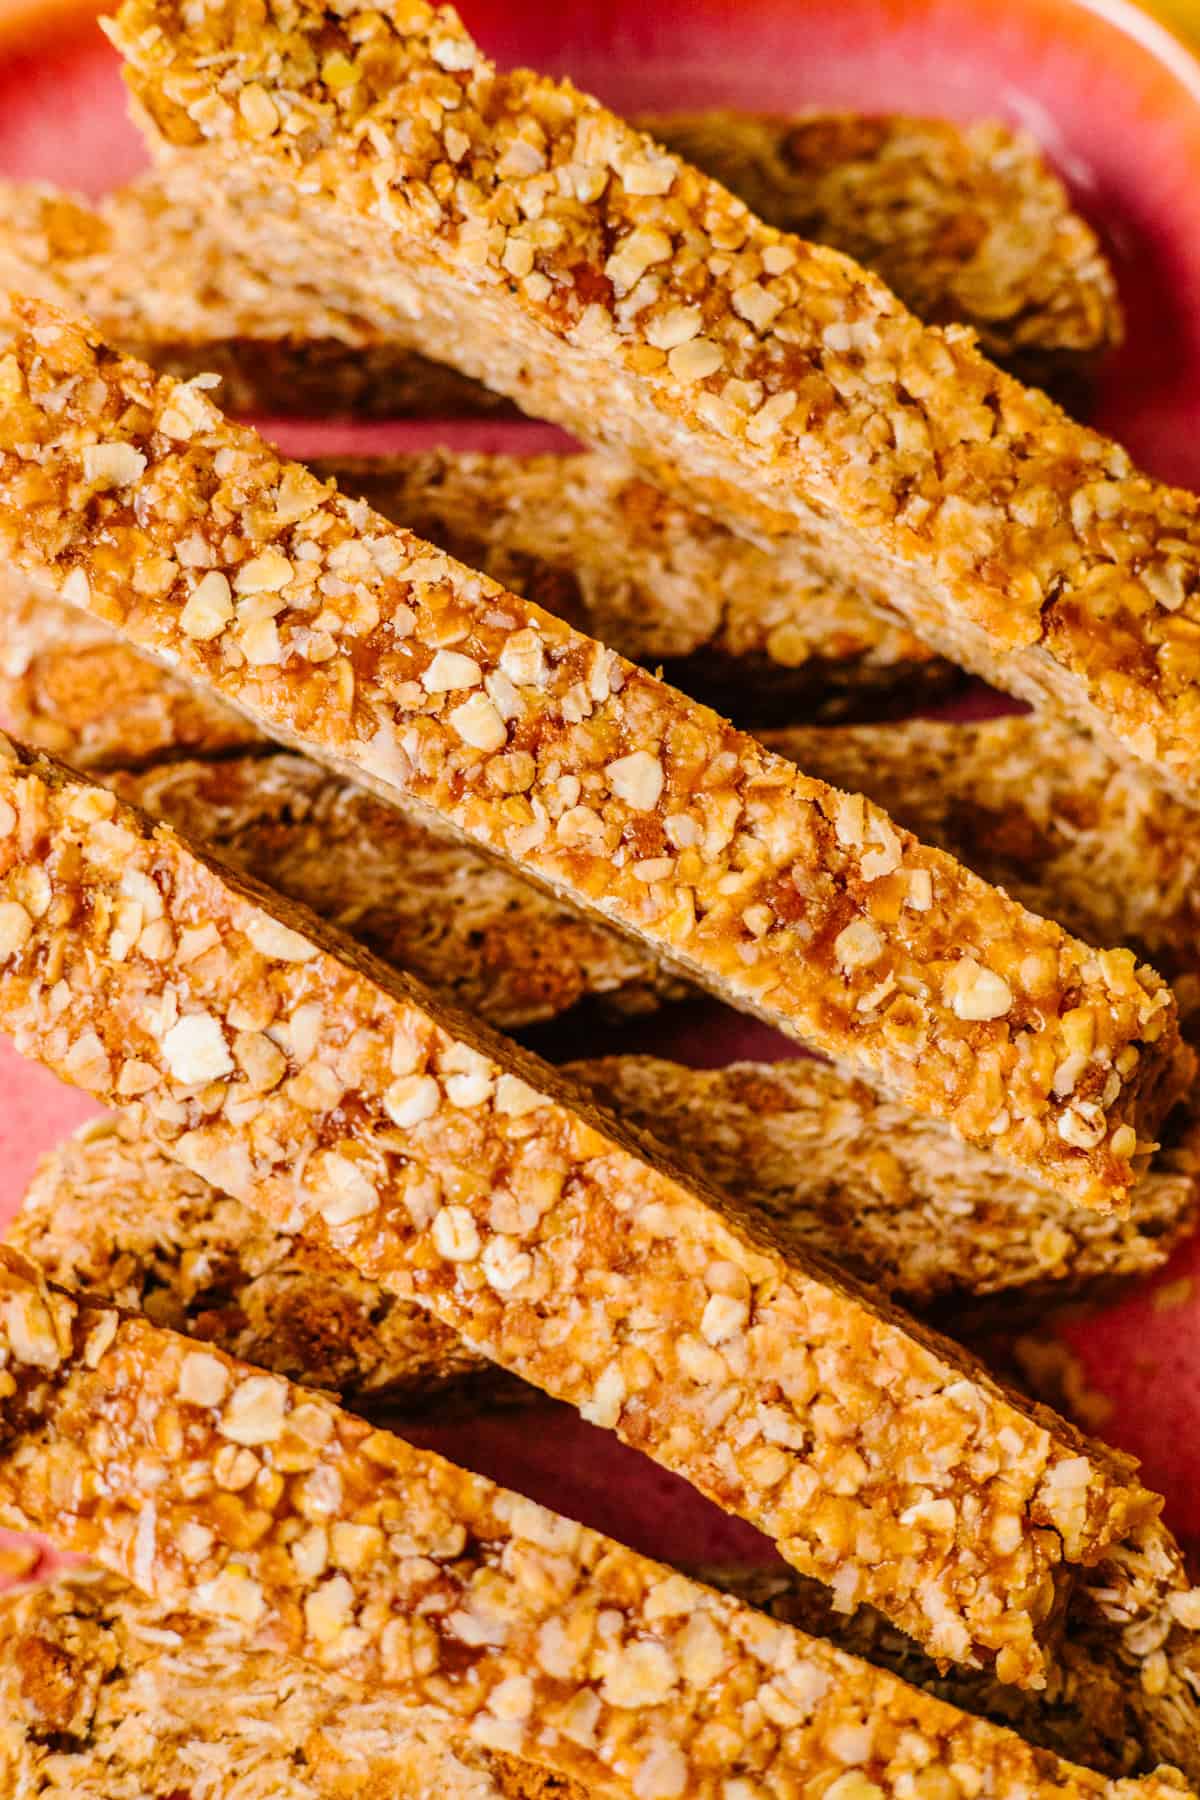
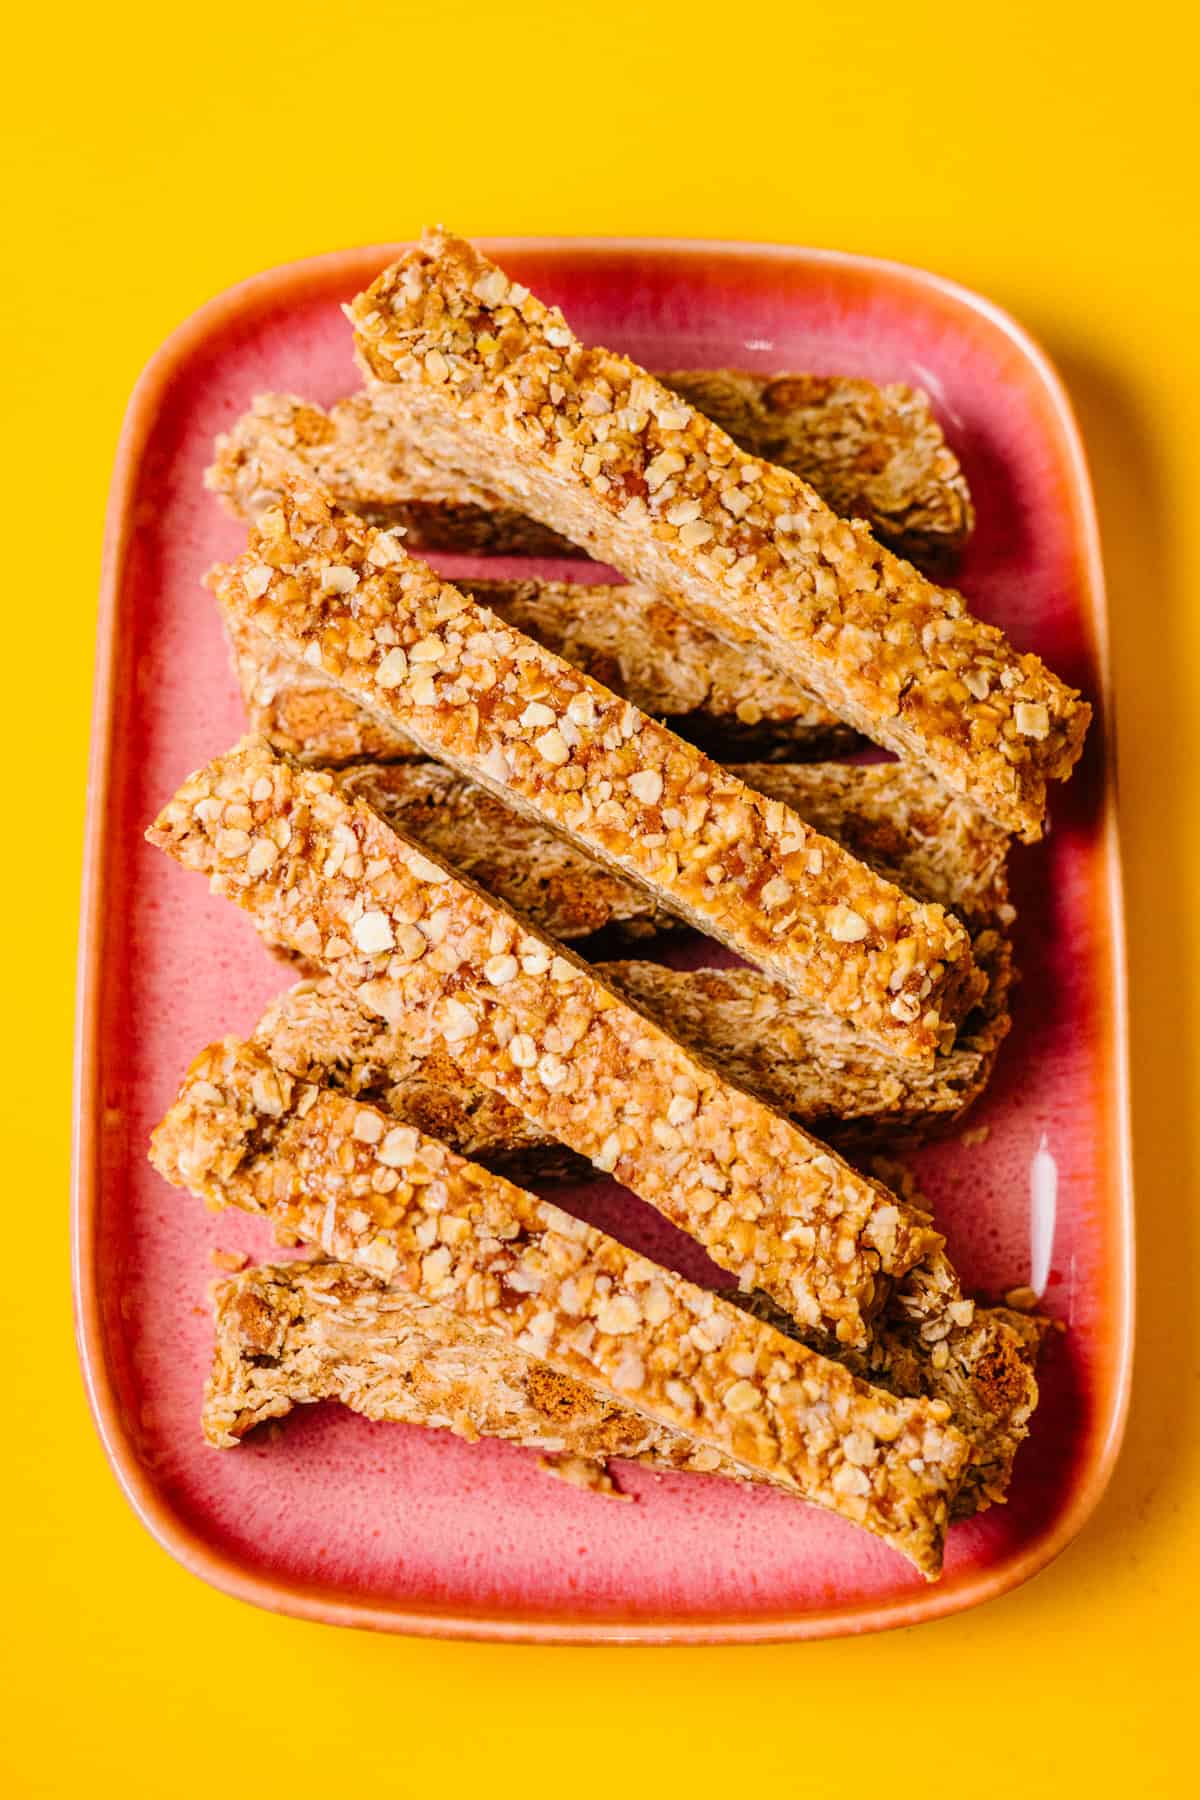
These Biscoff granola bars are chewy, sweet and packed with that familiar spiced caramel Biscoff flavour. They’re made with rolled oats, Biscoff spread, crushed biscuits and white chocolate, all held together with a buttery honey mixture.
Better still, there’s no baking required. Melt the Biscoff mixture, stir it through the oats and biscuits, press everything firmly into a tin and leave it in the fridge to set.
They’re particularly good for keeping in the fridge for coffee breaks, packed lunches or those afternoons when only something sweet will do.
Looking for more ideas? Have a browse through my homemade granola recipes for everything from crunchy oven-baked granola to easy granola bars.

Accessibility & Energy
Energy needed: Very Low
Active cooking: Around 10 minutes
Chopping: Very little, just the white chocolate
Washing up: Low
Can I sit down? Yes for most of the preparation
Shortcut friendly: Yes. Crush the biscuits inside their packet and use white chocolate chips if you’d rather skip the chopping.
✔️ Why You’ll Love These Biscoff Granola Bars
- Completely no-bake: No need to turn the oven on.
- Around 10 minutes of active prep: The fridge does most of the work.
- Plenty of Biscoff flavour: Both Biscoff spread and crushed biscuits go into the bars.
- Chewy with a little crunch: Oats make up the base with pieces of biscuit and white chocolate throughout.
- Easy to make ahead: Keep a batch chilled and you’ve got something sweet ready when you want it.
What Do Biscoff Granola Bars Taste Like?
They’re somewhere between a chewy granola bar and a soft flapjack, with the distinctive caramelised biscuit flavour of Lotus Biscoff.
The oats keep them chewy, crushed Biscoff biscuits add little crunchy pieces, and the white chocolate brings extra sweetness.
Because these aren’t baked, they stay softer than a traditional baked flapjack and are best kept chilled so they hold their shape.
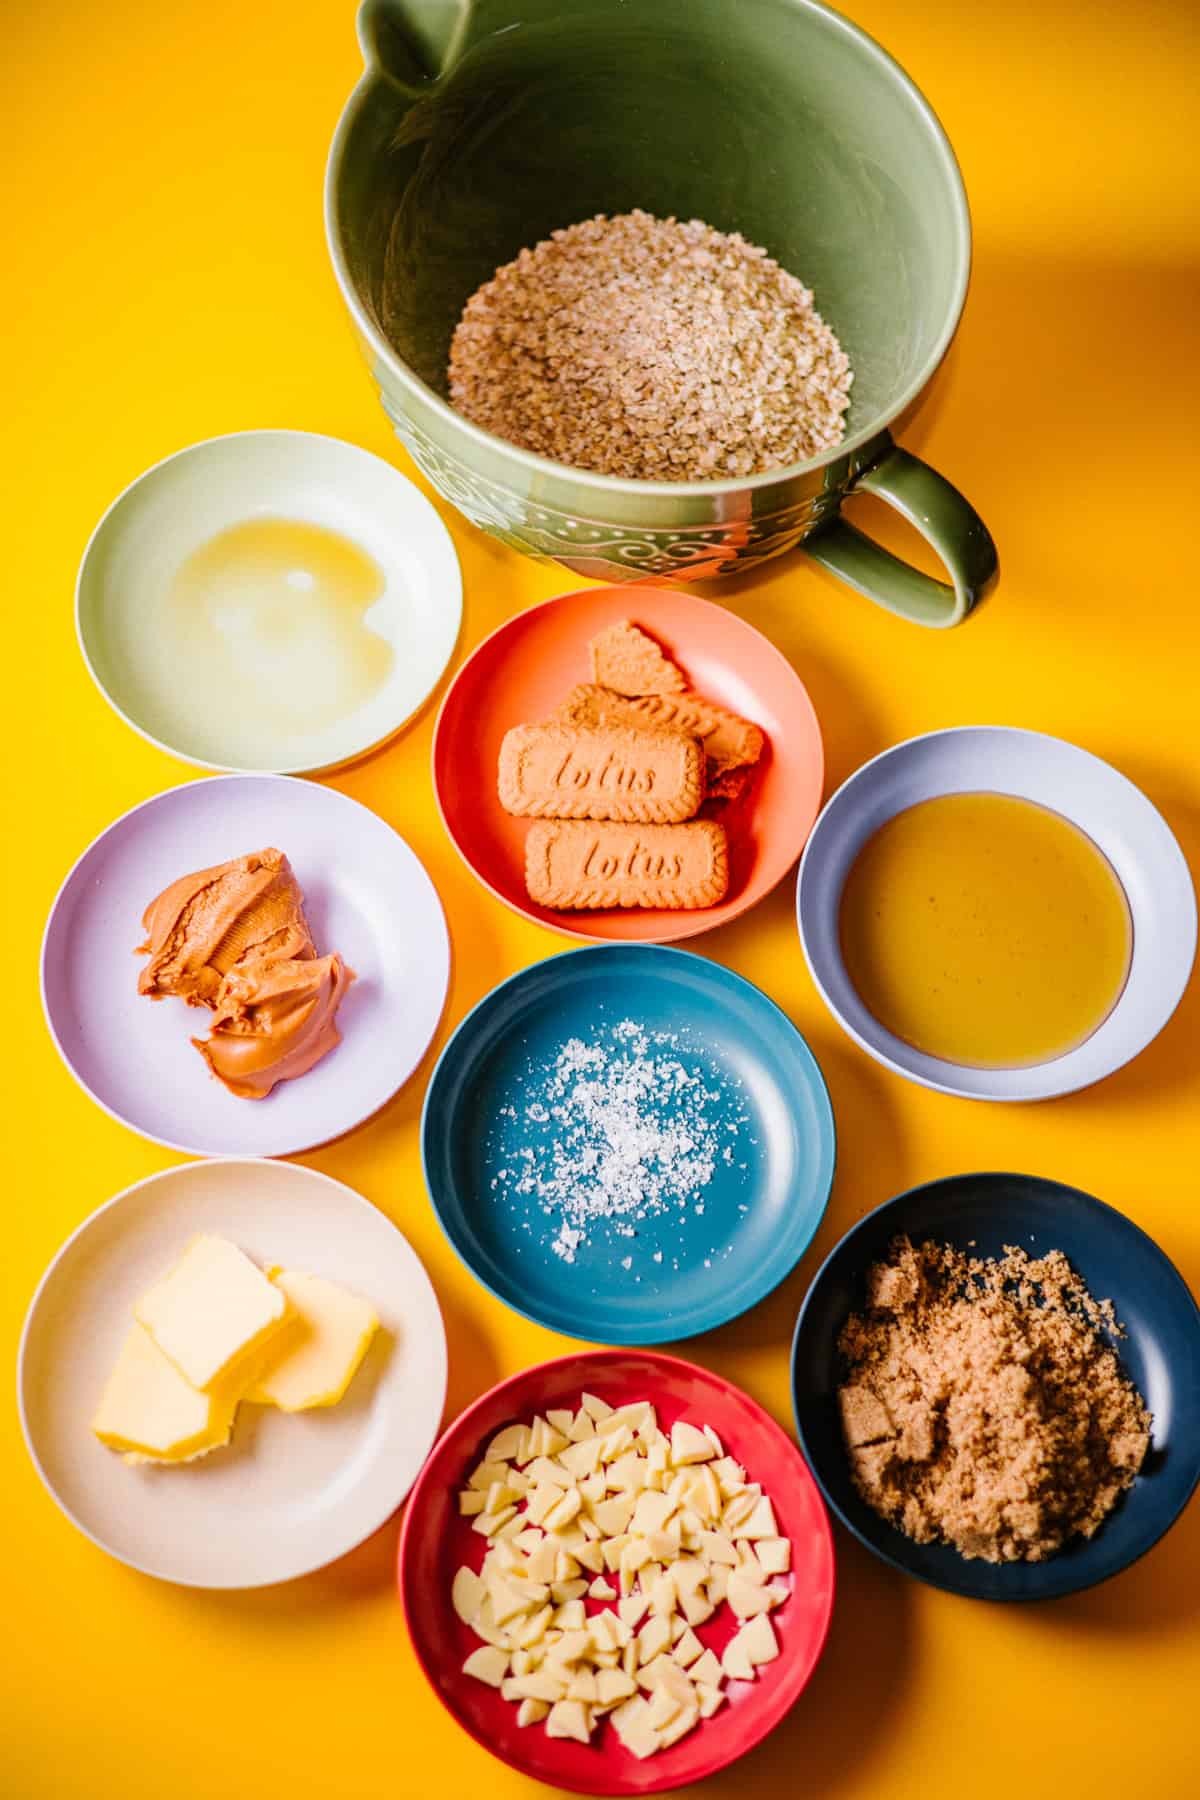
Ingredients
You’ll need:
50 g white chocolate, chopped
200 g rolled oats
100 g Biscoff spread
60 g honey
50 g brown sugar
50 g unsalted butter
1 tsp vanilla extract
¼ tsp salt
50 g Biscoff biscuits, crushed
Ingredient Notes
Rolled oats: These give the bars their chewy texture and make up most of the base.
Biscoff spread: Smooth or crunchy Biscoff spread can be used here.
Honey: This forms part of the binder along with the butter, sugar and Biscoff spread.
Brown sugar: Adds extra sweetness and helps create that caramel flavour.
Biscoff biscuits: Keep some slightly larger pieces rather than crushing everything into fine crumbs.
White chocolate: Chop it into small pieces so you get little pockets throughout the bars.
Vanilla extract: I use my homemade vanilla extract, but your usual vanilla extract is absolutely fine.
How to Make Biscoff Granola Bars
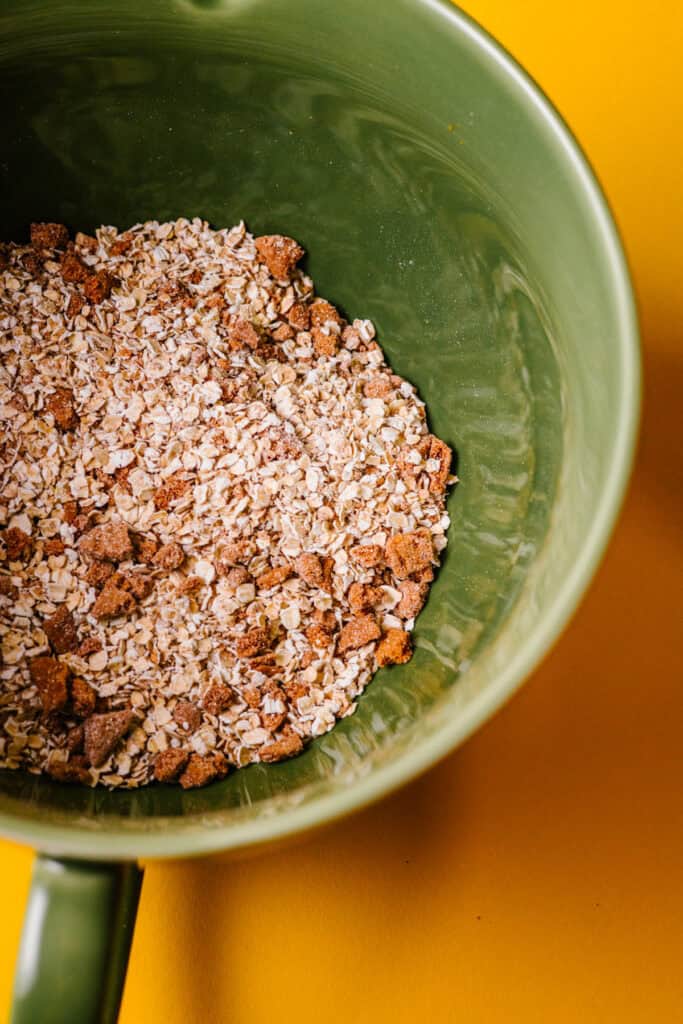
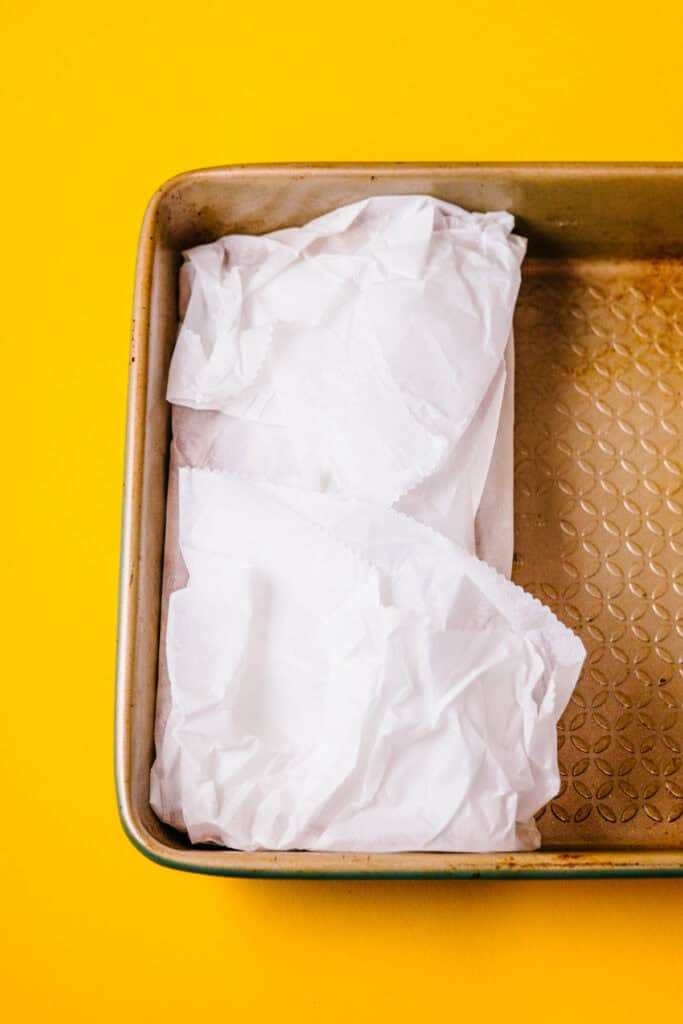
- Line a 20 cm square tin with baking paper.
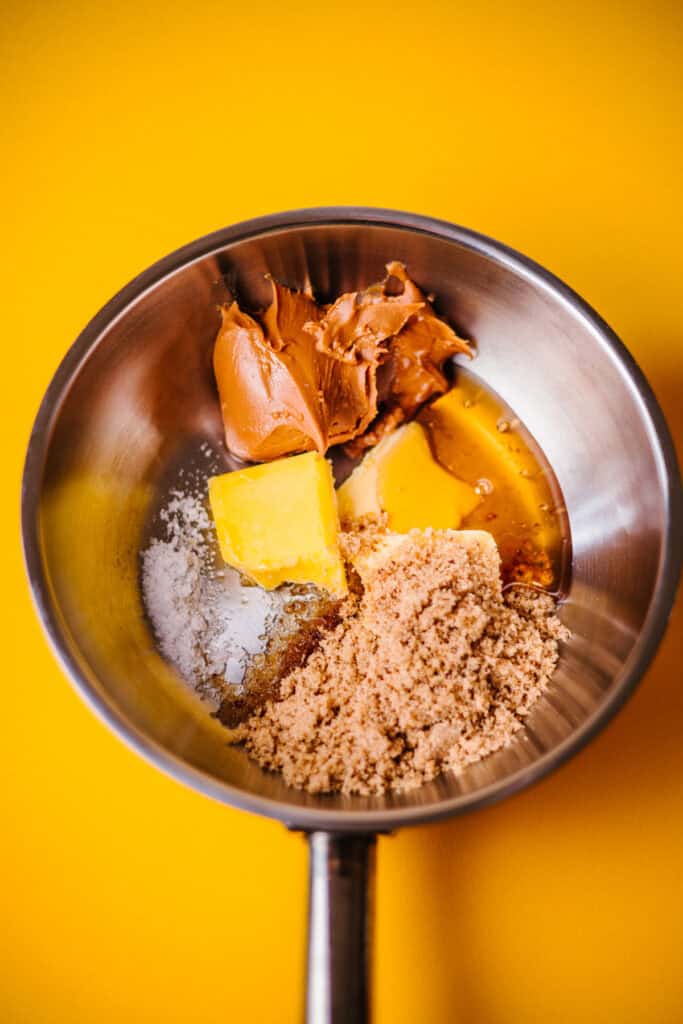
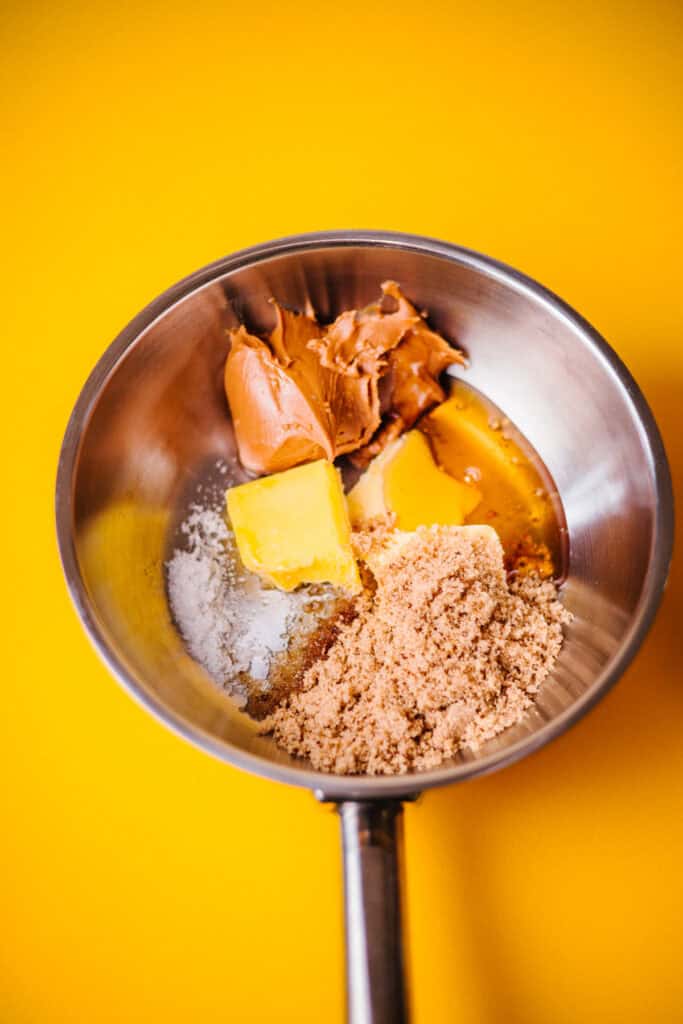
- Add the Biscoff spread, butter, honey, brown sugar and vanilla extract to a small saucepan.
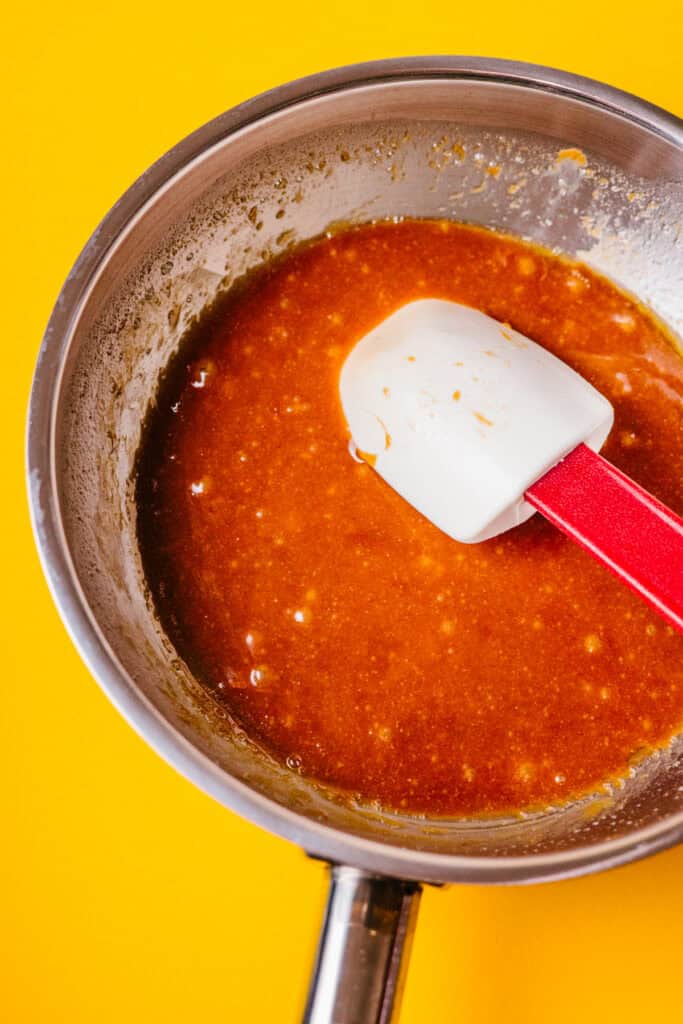
- Heat gently over a low heat, stirring until everything has melted together and the mixture is smooth.
- Add the rolled oats, salt and crushed Biscoff biscuits to a large mixing bowl.
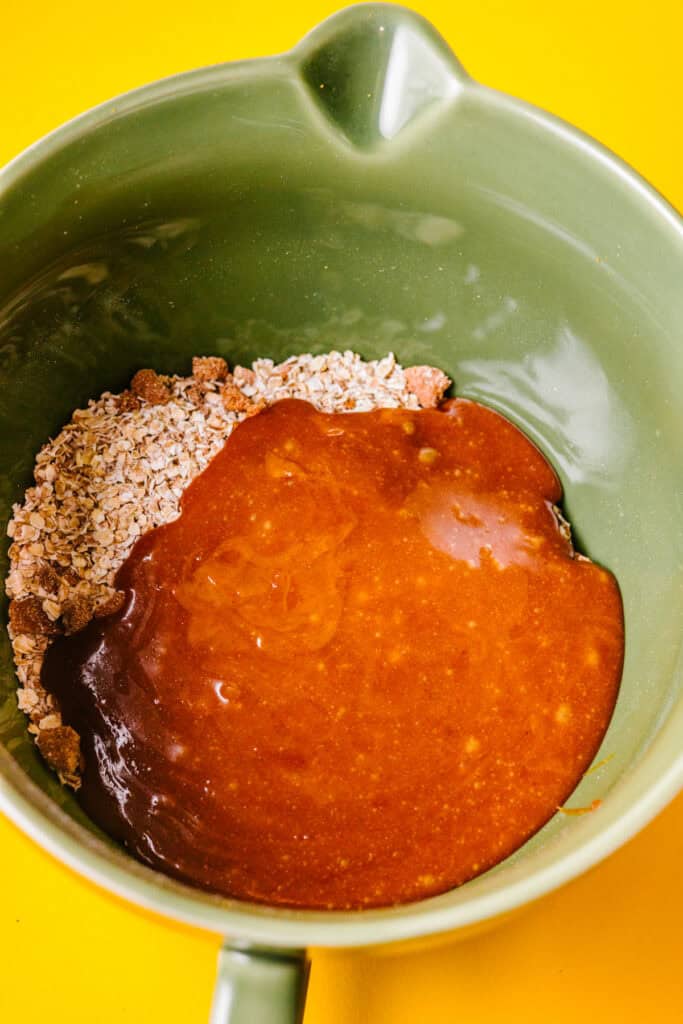
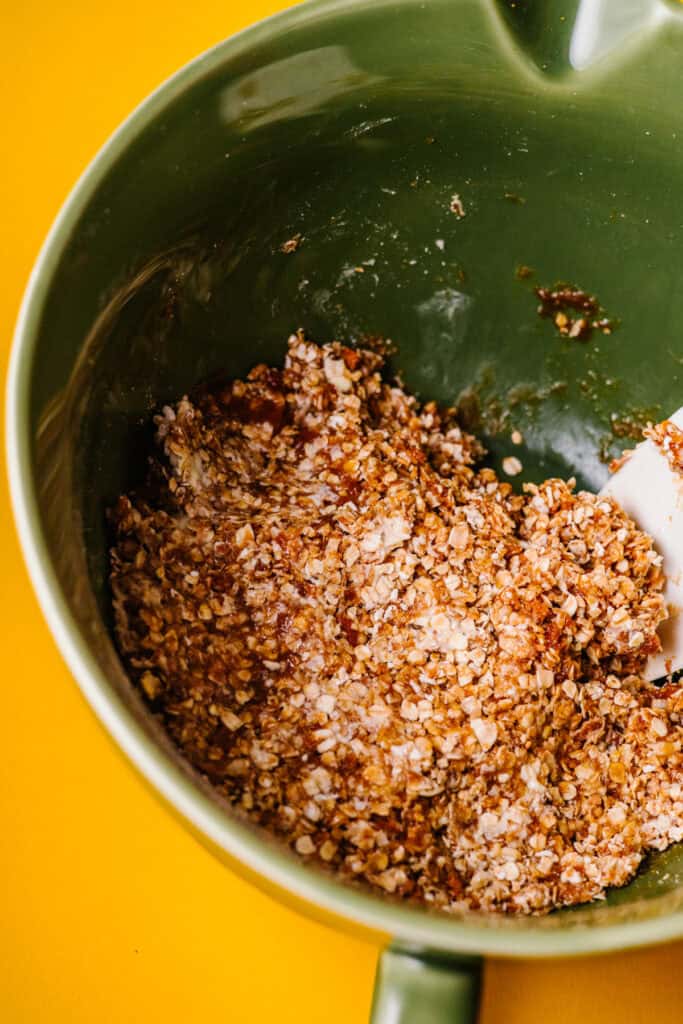
- Pour the warm Biscoff mixture over the dry ingredients and mix thoroughly until everything is evenly coated.
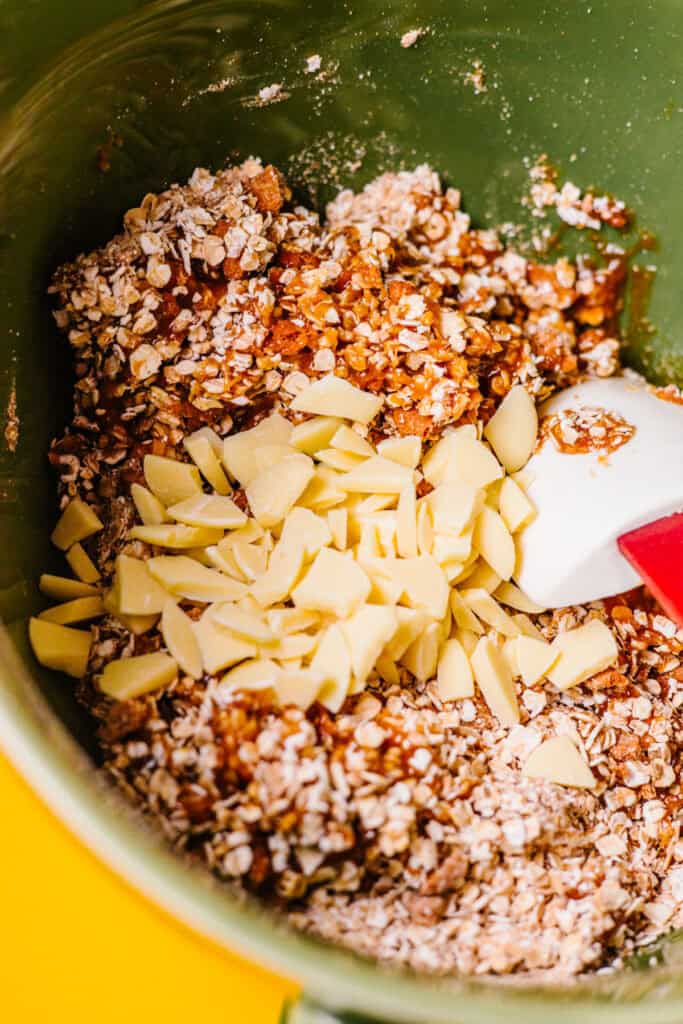
- Add the chopped white chocolate and mix through.
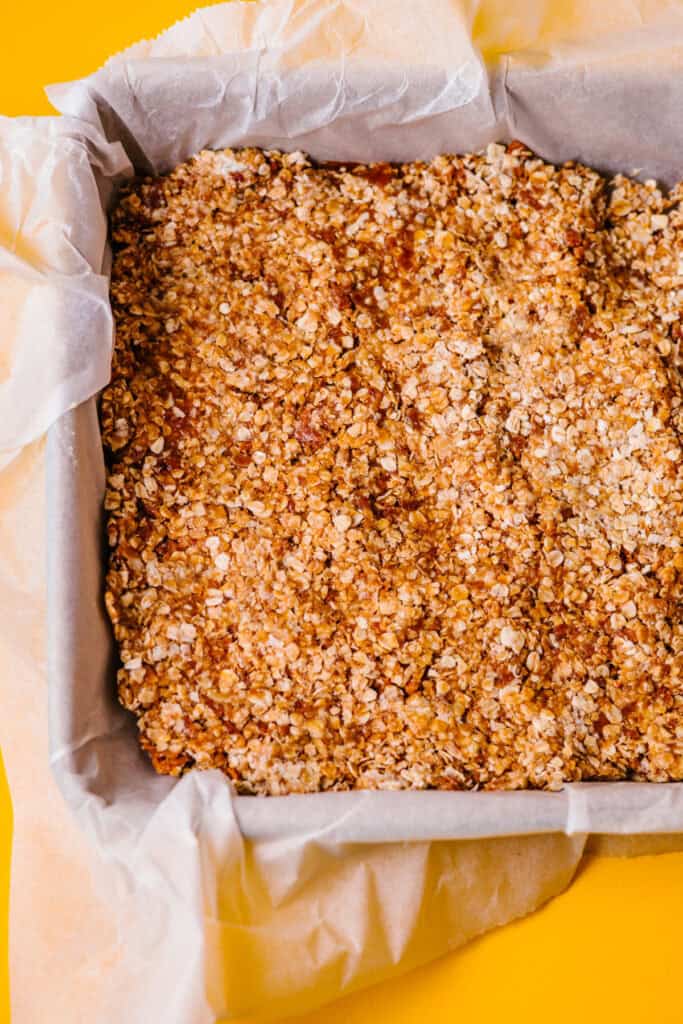
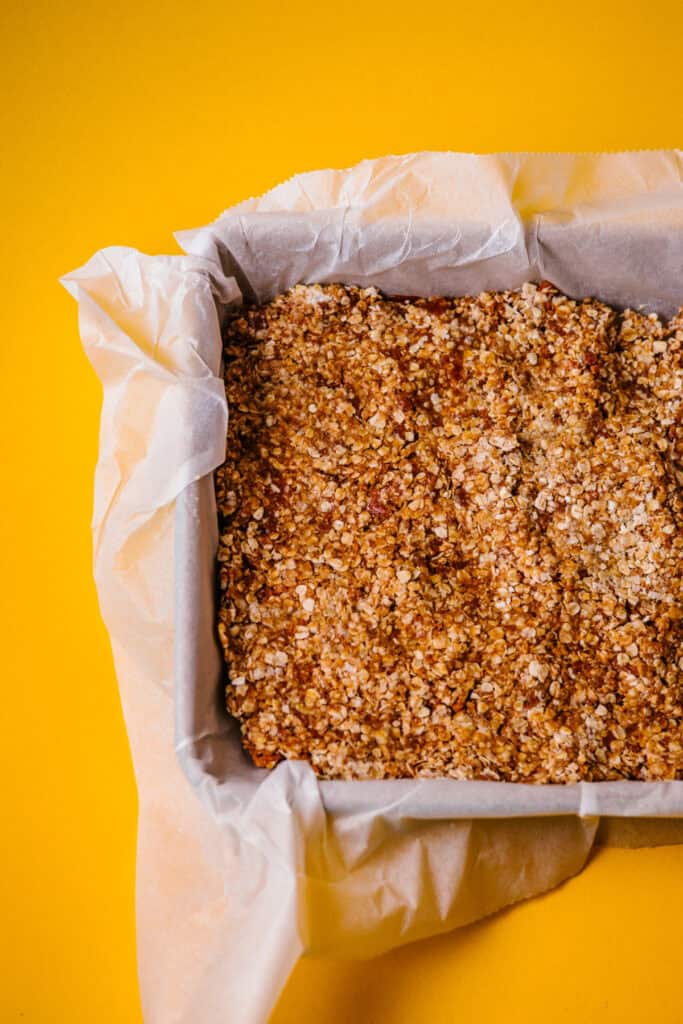
- Transfer the mixture to the prepared tin. Use the back of a spoon to press it down very firmly, making sure the mixture reaches the corners.
- Refrigerate for at least 1 hour, until completely chilled and firm.
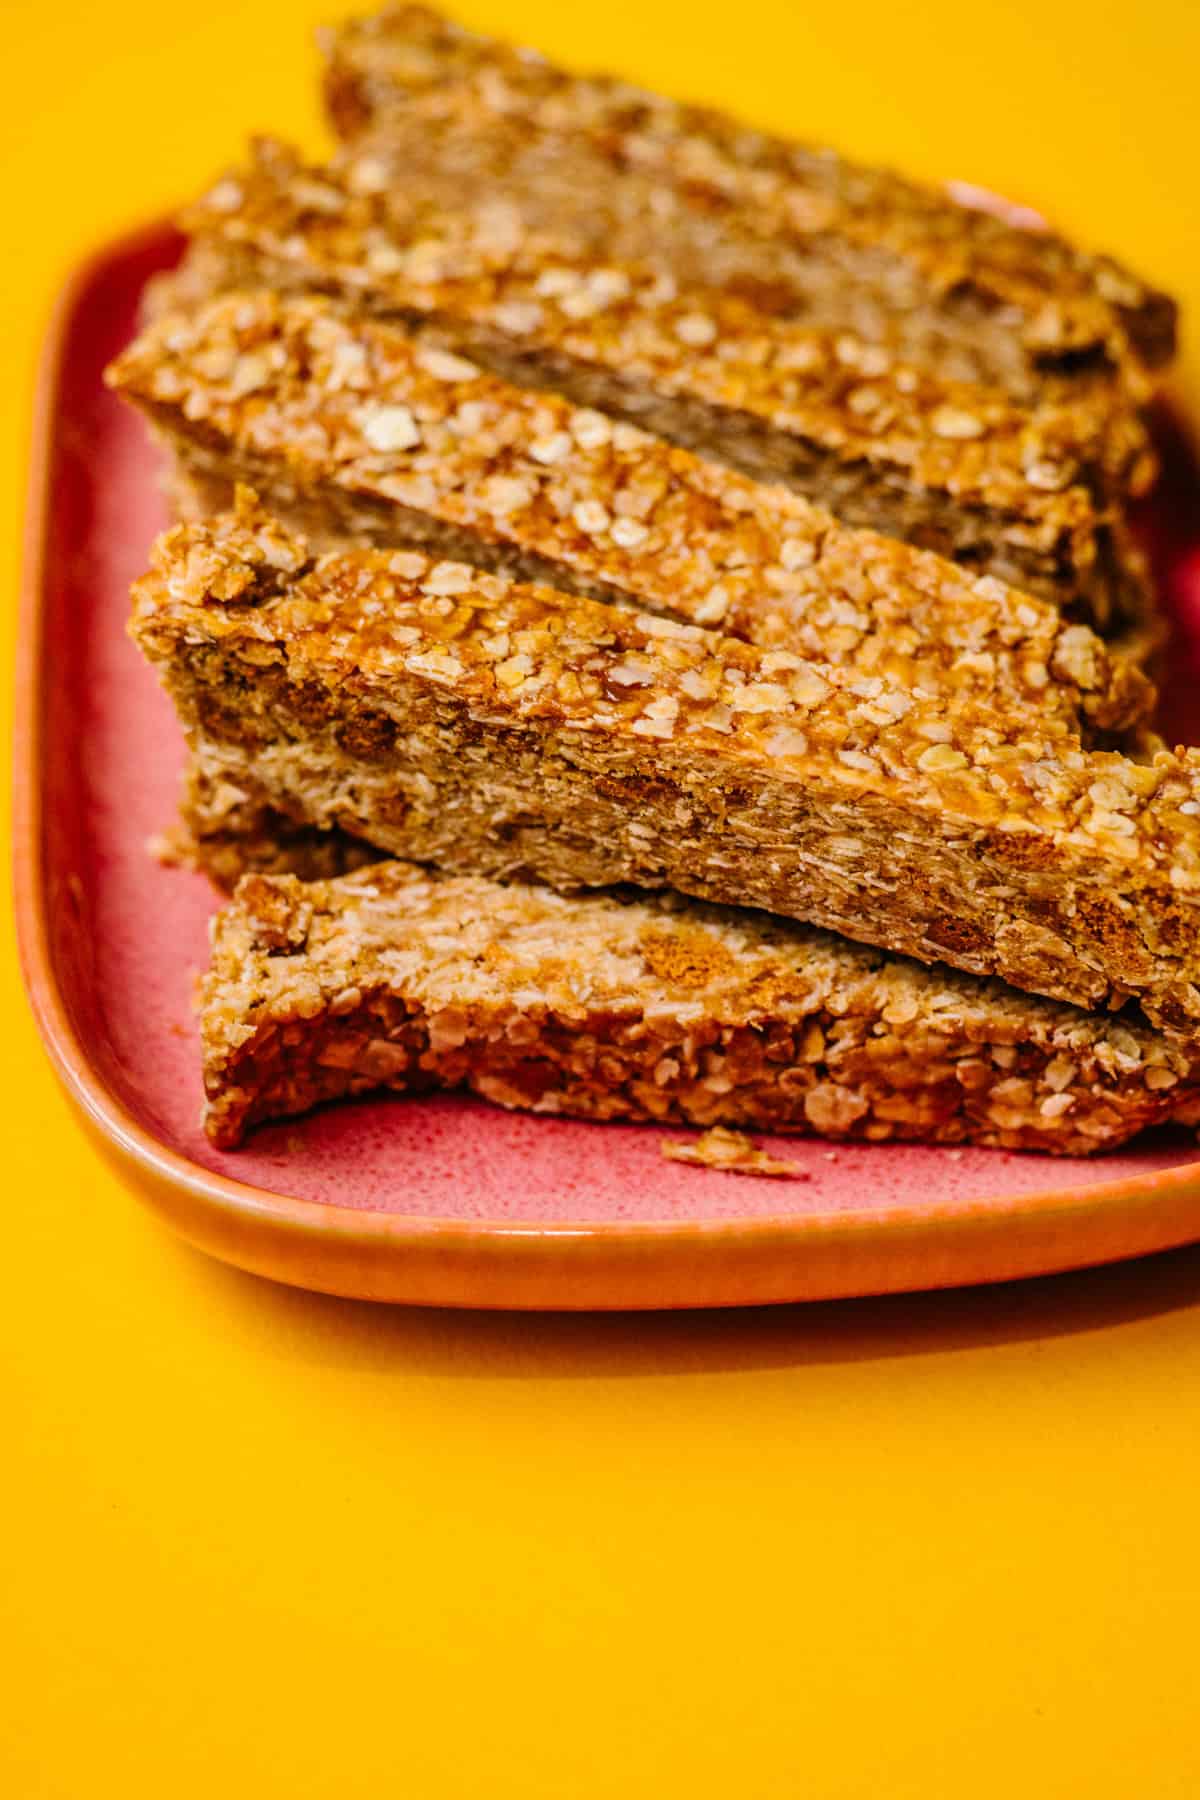
- Lift the set mixture from the tin and cut it into bars or squares.
How to Stop No-Bake Granola Bars Falling Apart
The most important step in this recipe is surprisingly simple: press them down firmly.
Unlike baked granola bars, there’s no oven heat helping everything set together. The Biscoff mixture acts as the binder, and compacting the oats tightly while it’s still warm helps the finished bars hold their shape.
I use the back of a spoon to really push the mixture into the tin, particularly around the edges and corners.
Then give them enough time in the fridge. Trying to cut the mixture while it’s still soft is a very easy route to accidental Biscoff granola.
Delicious, admittedly. Just not quite what we were aiming for.
Do Biscoff Granola Bars Need to Be Refrigerated?
I recommend keeping these bars in the fridge.
They’re no-bake and the buttery Biscoff mixture becomes firmer when chilled, which helps the bars keep their shape.
Once they’re completely set, you can slice the whole batch and keep the individual bars in an airtight container so they’re easy to grab when you want one.
Easy Recipe Variations
Add more chocolate: Sprinkle some additional chopped white chocolate over the top before chilling.
Chocolate drizzle: Once the bars have set, drizzle them with melted white or dark chocolate.
Add dried fruit: A small amount of chopped dried fruit can add extra chewiness.
Add some seeds: A sprinkling of pumpkin or sunflower seeds can add crunch.
✨ Expert tips
Press firmly. This is the most important step for bars that actually stay together.
Crush the biscuits roughly. A combination of crumbs and little biscuit pieces gives you more texture.
Keep the heat low. You only need to gently melt the Biscoff mixture together.
Let them chill completely. Give the bars at least an hour before attempting to slice them.
Use a sharp knife. Once they’re thoroughly chilled, a sharp knife will give you cleaner edges.
🥄 Spoonie Tip
Crush the Biscoff biscuits inside their packet with a rolling pin before you start. That’s one less bowl to wash. You can also sit down while measuring the oats, crushing the biscuits and lining the tin. Once you’ve melted the Biscoff mixture, everything gets stirred together, pressed into the tin and handed over to the fridge. There’s very little active cooking involved.
Biscoff Granola Bar FAQs
Biscoff spread is made from Lotus Biscoff biscuits. It has a spiced caramel flavour with notes of cinnamon and brown sugar. You’ll usually find it near the peanut butter in supermarkets.
The mixture may not have been pressed firmly enough into the tin, or the bars may not have chilled for long enough before you sliced them. Really compact the mixture while it’s still warm and give it at least an hour in the fridge.
Yes. They’re particularly useful for making ahead because they need to chill before slicing anyway. Once set, keep them refrigerated in an airtight container.
I haven’t tested this recipe without the brown sugar. Because these are no-bake bars, changing the quantities of the ingredients that make up the binder may affect how well they hold together.
Yes. Wrap the individual bars well and freeze for up to 2 months. Defrost them before eating and keep them chilled once thawed.
Storage and Freezing
Keep the granola bars in an airtight container in the fridge for up to 1 week.
For longer storage, wrap individual bars and freeze for up to 2 months.
Allow frozen bars to defrost before eating.
More Homemade Granola Recipes
If it’s the Biscoff flavour you’re here for, my easy Biscoff granola should absolutely be next. It’s crunchy rather than chewy and gives you another way to turn that jar of Biscoff spread into breakfast.
For something fruity, try my raspberry and white chocolate granola.
Or if you’re more in the mood for a traditional oat bake, my cranberry and golden raisin flapjacks are soft, chewy and very good with a cup of coffee.
For another fridge-friendly snack, there are also my no-bake date Snickers bars.
And you can find all of my granola recipes together in my homemade granola collection.
Made a Batch?
If you make these no-bake Biscoff granola bars, leave a rating and comment below and let me know how long they actually lasted in your fridge.
Mine have a suspicious habit of disappearing.
Biscoff Granola Bars (No Bake, Easy 10 Minute Recipe)
Ingredients
- 200 g rolled oats
- 100 g Biscoff spread smooth or crunchy
- 60 g honey or maple syrup for vegan option
- 50 g brown sugar optional, for extra sweetness
- 50 g unsalted butter
- 1 tsp vanilla extract
- 1/4 tsp salt
- 50 g crushed Biscoff biscuits about 5–6 biscuits
- 50 g white chocolate chips
Instructions
- Line a 20x20cm (8x8in) square tin with baking paper.
- In a saucepan, gently melt the Biscoff spread, butter, honey, brown sugar, and vanilla extract over low heat. Stir until smooth and combined.
- In a large mixing bowl, combine the rolled oats, salt, and crushed Biscoff biscuits. Add the white chocolate.
- Pour the warm Biscoff mixture into the bowl and stir everything together until evenly coated.
- Spoon the mix into the prepared tin. Use a spoon or clean hands to press down firmly so the bars hold together.
- Chill in the fridge for at least 1 hour, or until fully set.
- Slice into bars or squares and enjoy!
Notes
💡 Notes:
- Press the mixture firmly to help the bars hold together
- Use rolled oats for the best chewy texture
- Chill fully before slicing to avoid crumbling
- Perfect for meal prep snacks and lunchboxes
- Can be customised with nuts, seeds, or dried fruit
- Add a chocolate drizzle for an extra indulgent finish
- Ideal as a quick breakfast bar or mid-afternoon snack
🧊 Storage:
- Fridge: Store in an airtight container for up to 1 week.
- Freezer: Freeze individually wrapped for up to 2 months. Defrost before serving.
🥄 Spoonie Tip
Make a batch at the start of the week and keep them in the fridge for easy grab-and-go snacks.🔥 Serving Suggestions
- Enjoy as a quick breakfast or snack
- Pack into lunchboxes
- Crumble over yoghurt for extra texture
- Serve with coffee or tea for an easy treat


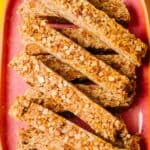
I just made these Biscoff granola bars and WOW – they’re absolutely delicious! So easy to throw together and the chewy texture is spot on. I added a drizzle of dark chocolate on top and it took them to the next level. Definitely making a double batch next time!