Easy Christmas Chocolate Bark (Perfect for Edible Gifts)

Last Updated on 7 September 2026 by Karolyn
There’s something so satisfying about making a festive treat that looks like you’ve spent ages on it, when in reality it only takes about ten minutes.
This Christmas chocolate bark is one of my favourite edible gifts because it’s incredibly simple, endlessly customisable and always looks impressive. Melt the chocolate, spread it onto a tray, scatter over your favourite toppings and let the fridge do the rest.
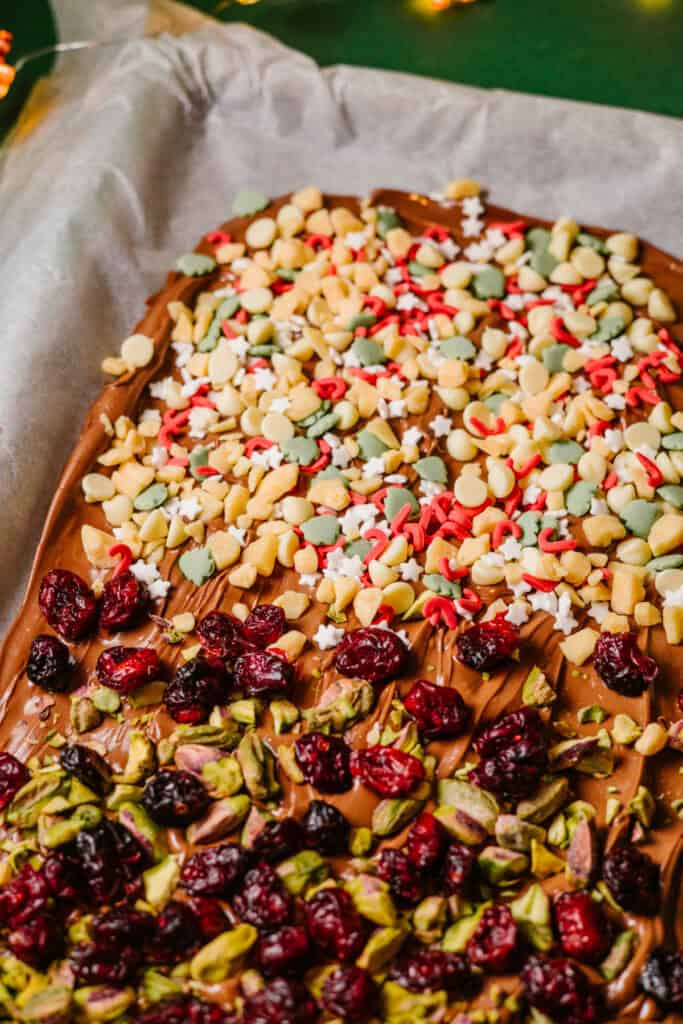
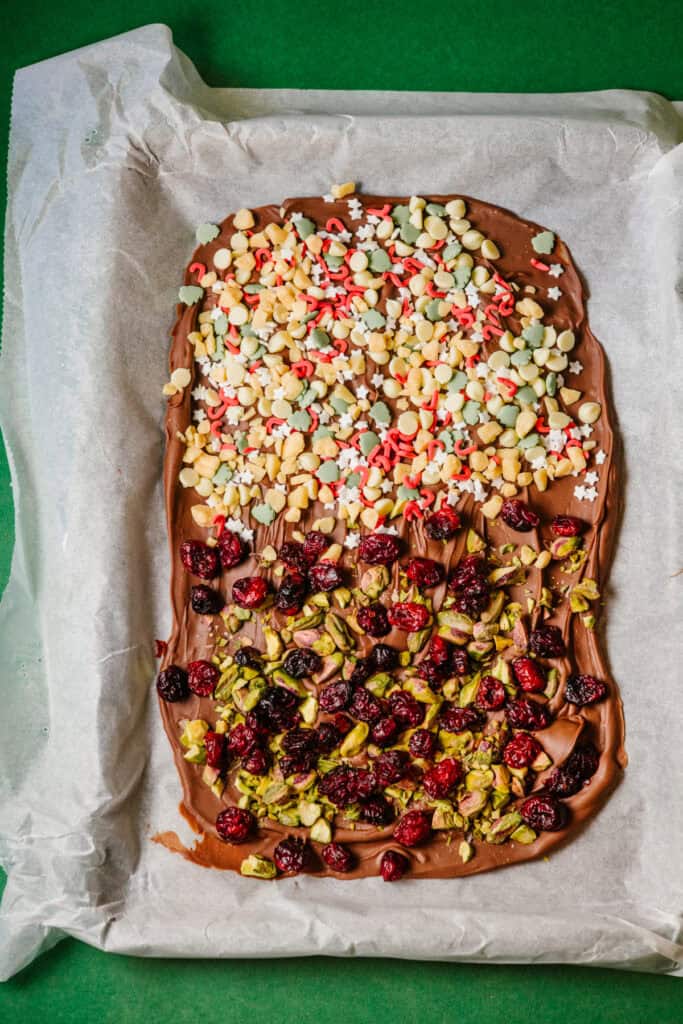
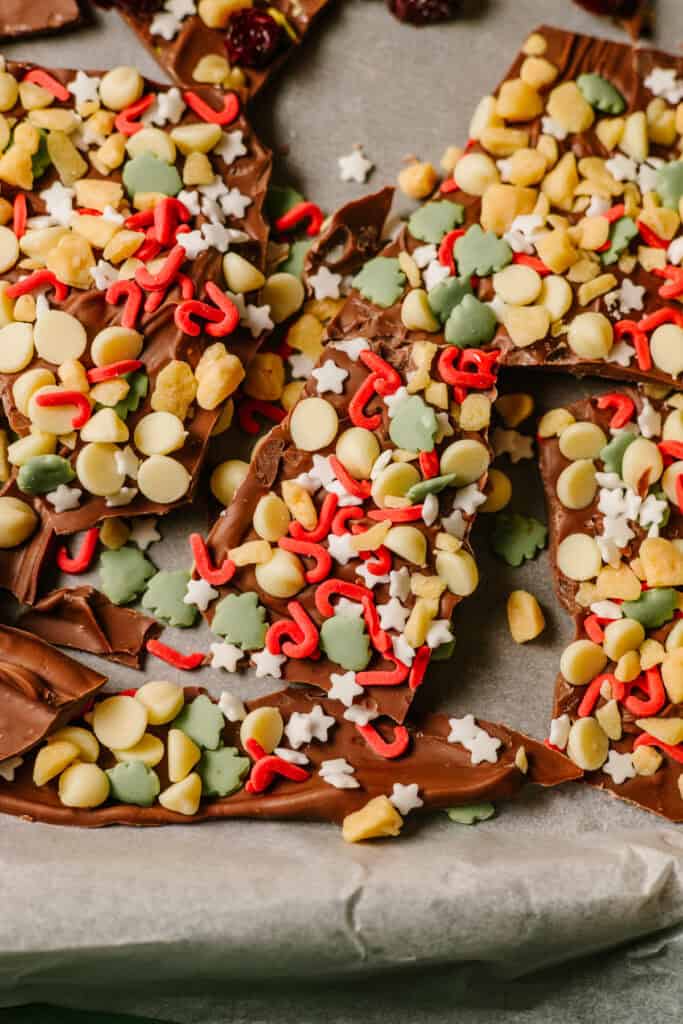
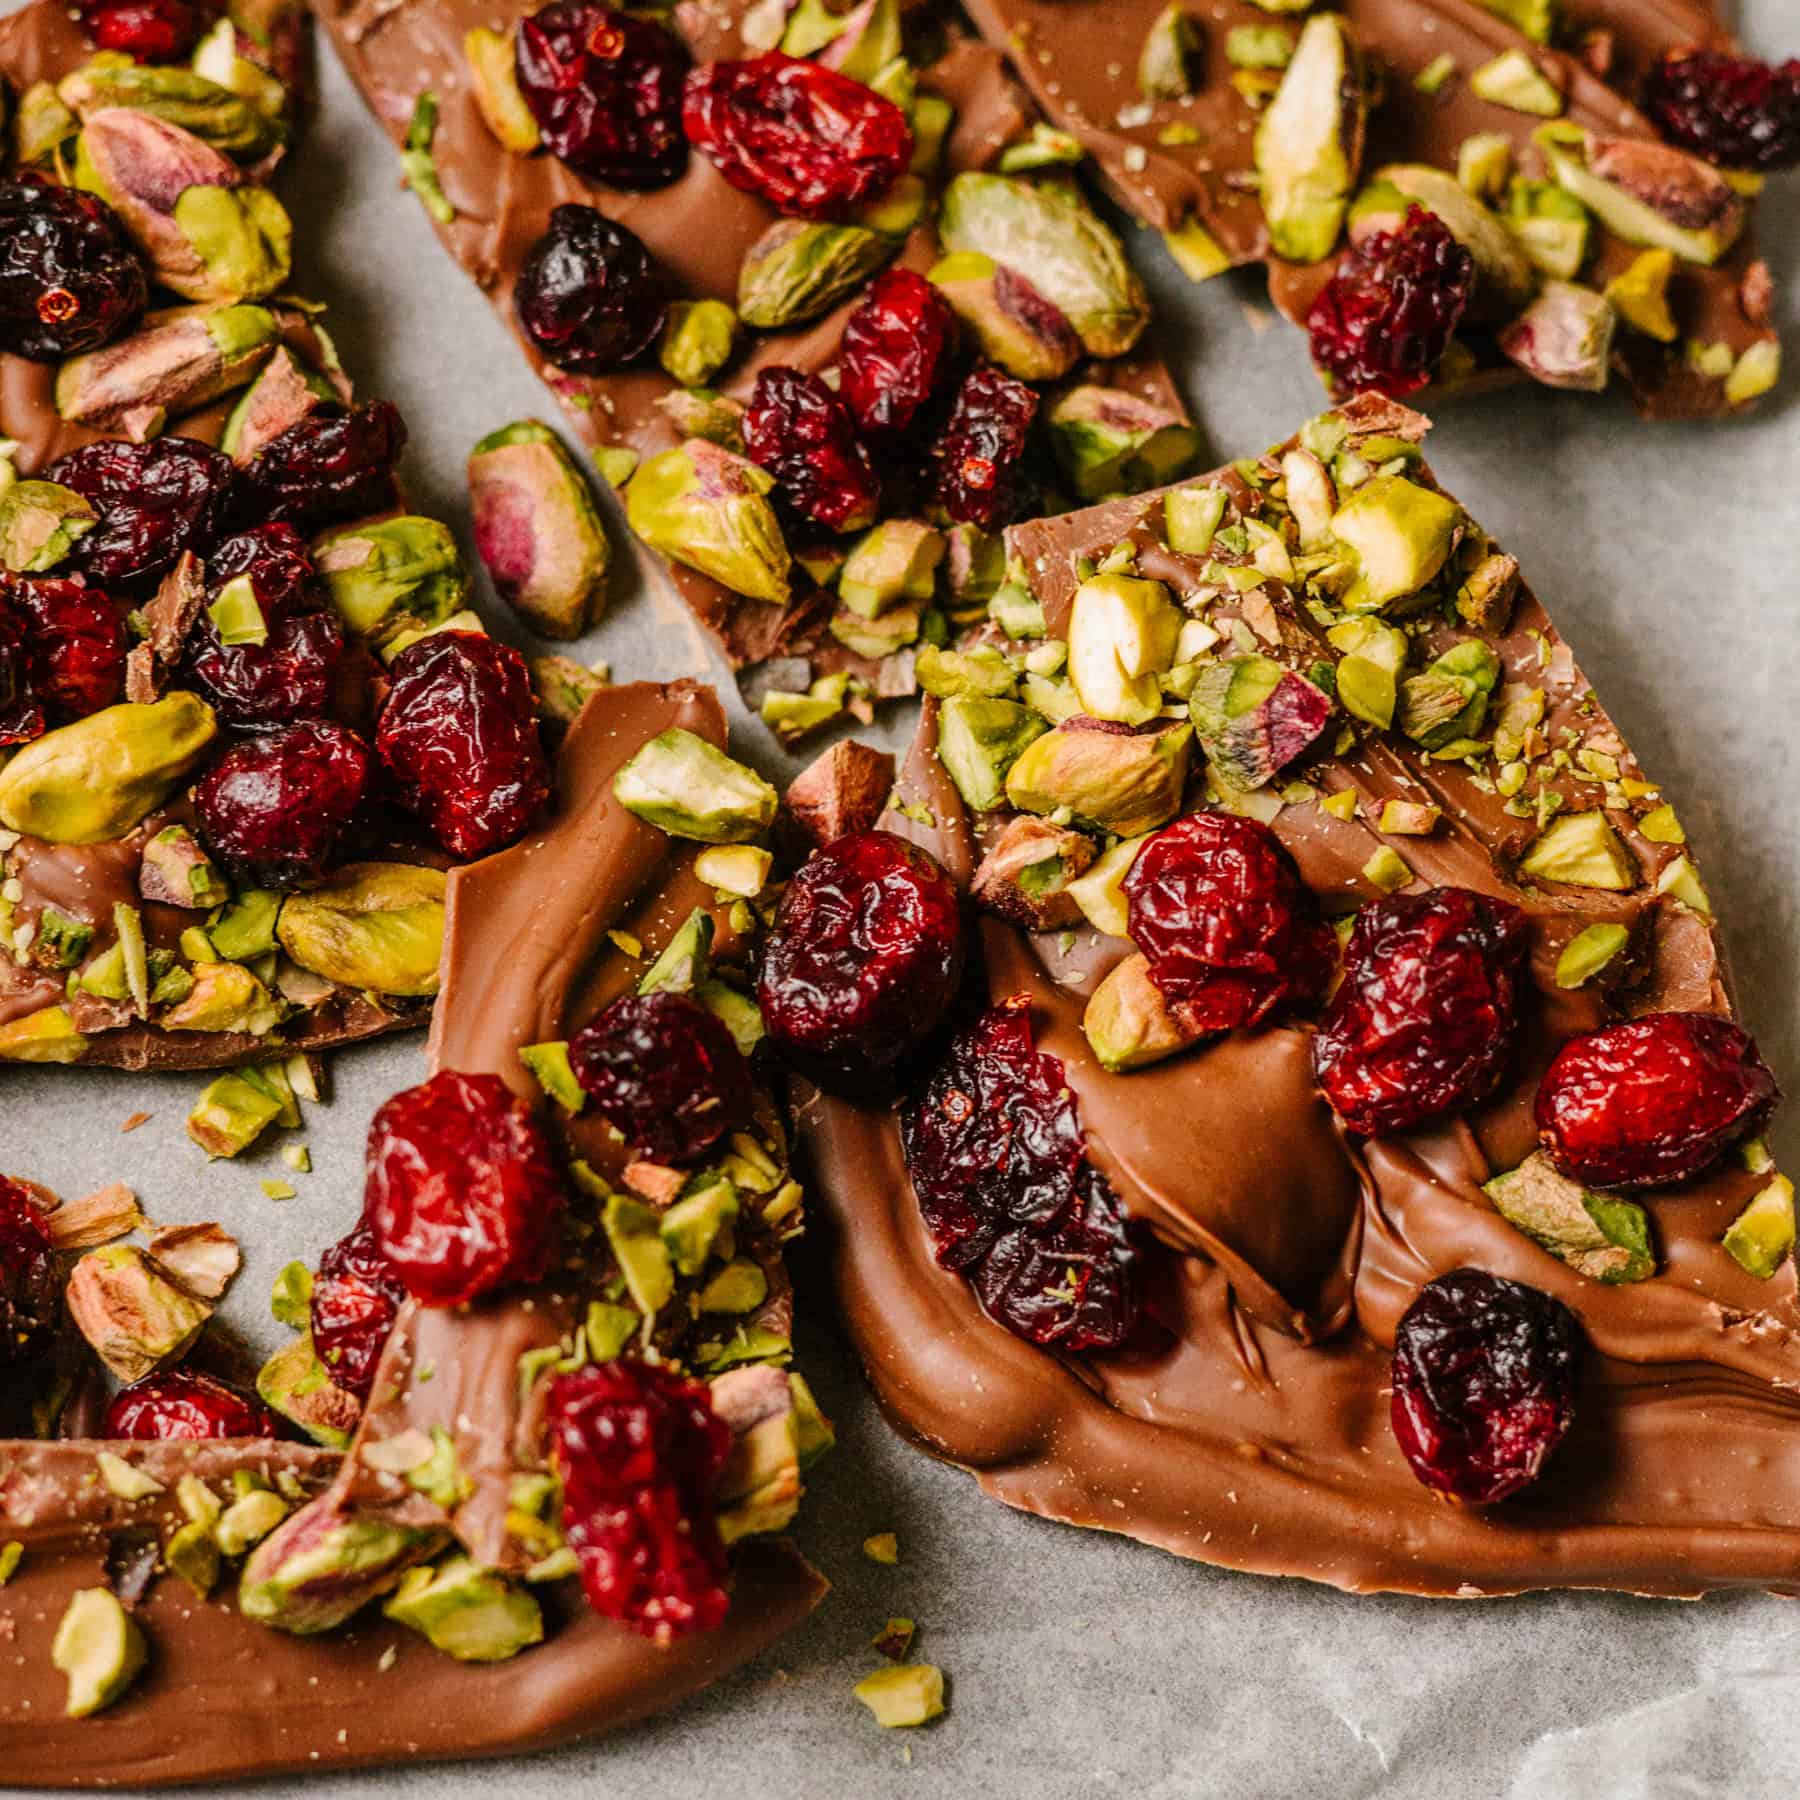
For this recipe I actually made two different versions using exactly the same chocolate base. One is topped with chopped pistachios and dried cranberries for a more classic Christmas look, while the other is loaded with festive sprinkles, white chocolate chips and crunchy caramel pieces. It just goes to show how easy it is to create completely different treats from one simple recipe.
Whether you’re filling homemade hampers, looking for an easy edible Christmas gift or just want something sweet to nibble over the holidays, this recipe is guaranteed to disappear quickly.
Recipe at a Glance
Energy needed: very low
Active cooking: 10 minutes
Chopping: minimal
Washing up: one bowl and one tray
Can I sit down while making it? yes
Shortcut friendly: absolutely

✔️ Why You’ll Love This Edible Gift Recipe!
- Ready in around 10 minutes.
- No baking required.
- Perfect for edible Christmas gifts and homemade Christmas hampers.
- Easy enough to make with children.
- One recipe creates lots of different topping combinations.
- Brilliant for using up leftover festive sprinkles.
- Easy to make ahead for Christmas entertaining.
🛒 Ingredients
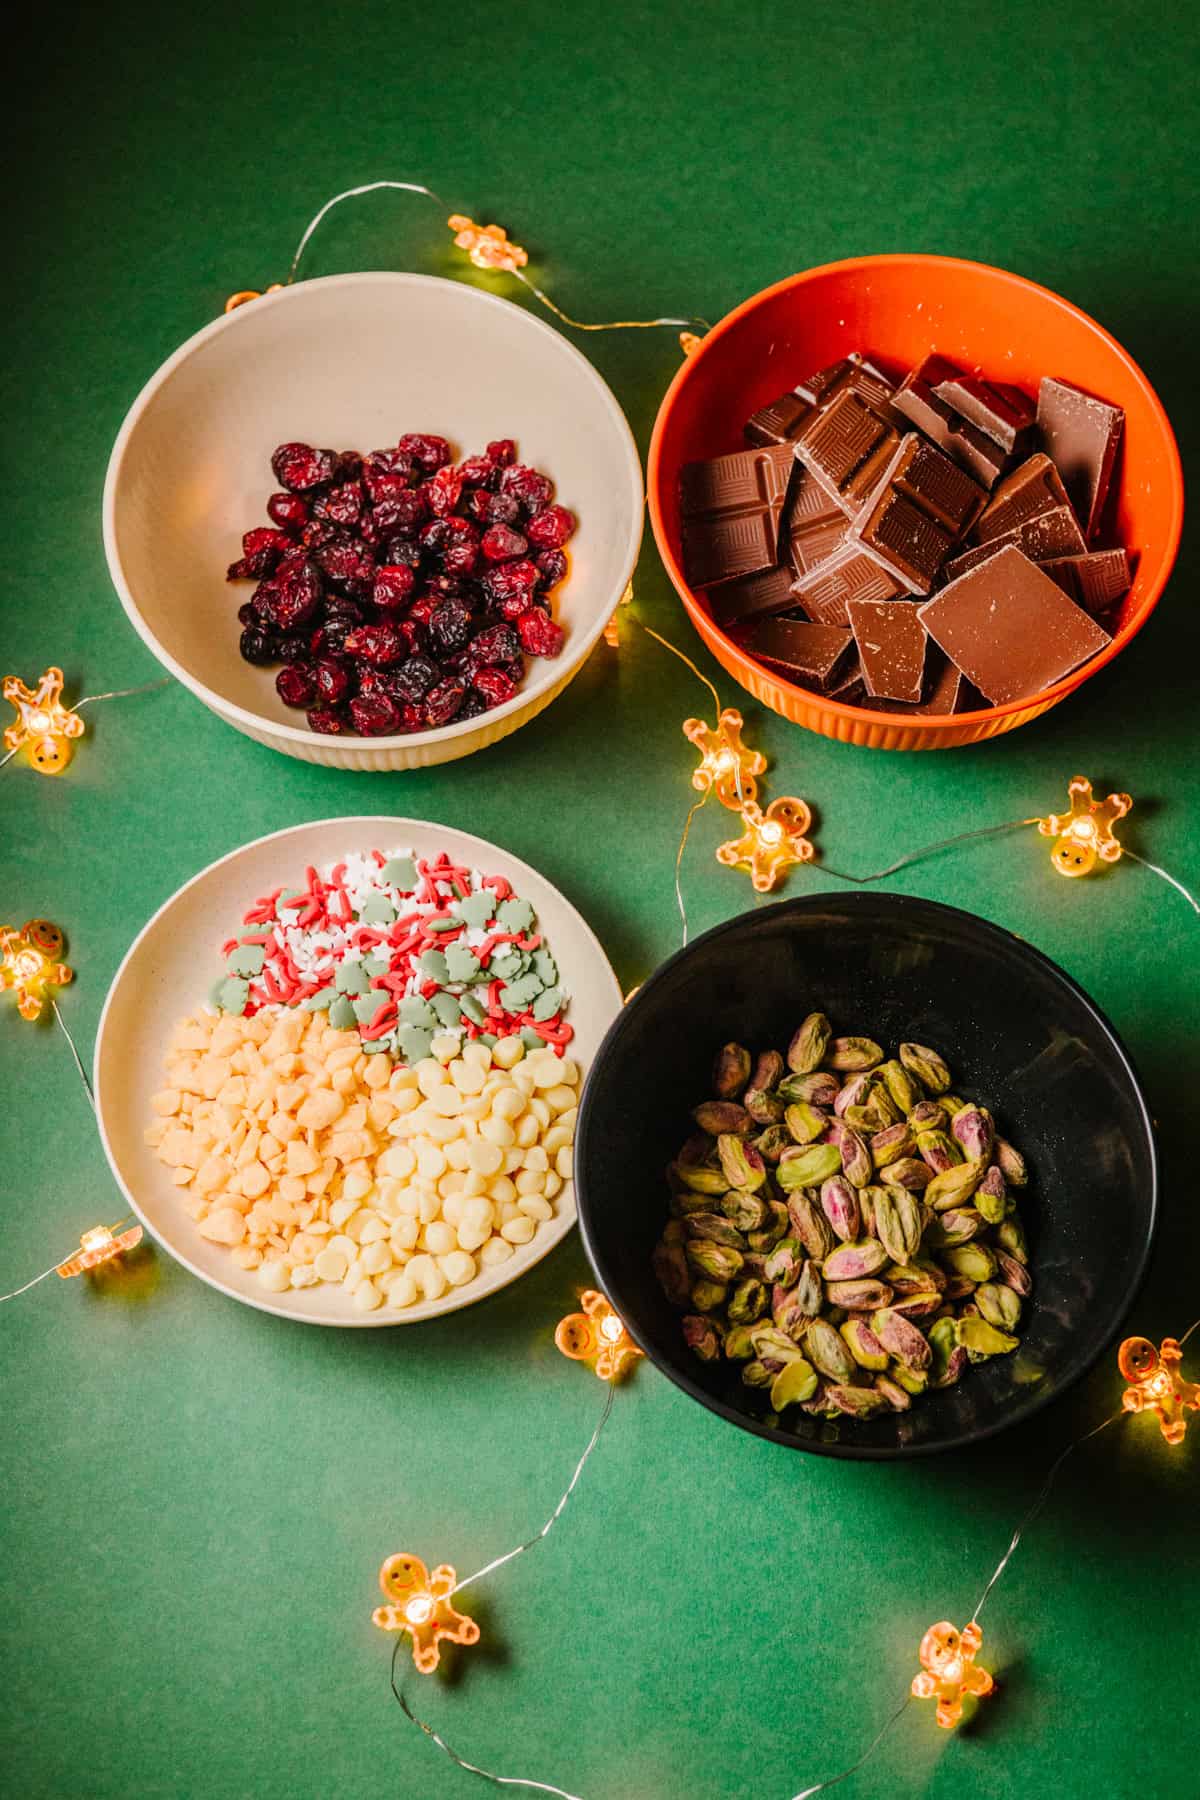
- 500g milk chocolate
- 40g pistachios, roughly chopped
- 30g dried cranberries
- 30g white chocolate chips
- 20g crunchy caramel pieces
- 20g Christmas sprinkles
Ingredient Notes
Milk chocolate
Use a chocolate you enjoy eating because it’s the star of the recipe. Better quality chocolate will melt more smoothly and taste richer.
Pistachios
These add crunch, colour and a lovely buttery flavour that pairs beautifully with chocolate.
Dried cranberries
Their sweet-tart flavour balances the richness of the milk chocolate and makes the bark look wonderfully festive.
Festive toppings
This is where you can really make the recipe your own.
For the photos in this post I made two different versions using the same chocolate base.
Version one
- Chopped pistachios
- Dried cranberries
Version two
- White chocolate chips
- Crunchy caramel pieces
- Christmas sprinkles
If you can’t decide, simply decorate different sections of the chocolate with different toppings before chilling.
Equipment
- Heatproof bowl
- Microwave or saucepan for melting chocolate
- Silicone spatula
- Small baking tray or chopping board
- Baking parchment
How to Make Christmas Chocolate Bark
- Line a small baking tray or chopping board with baking parchment.
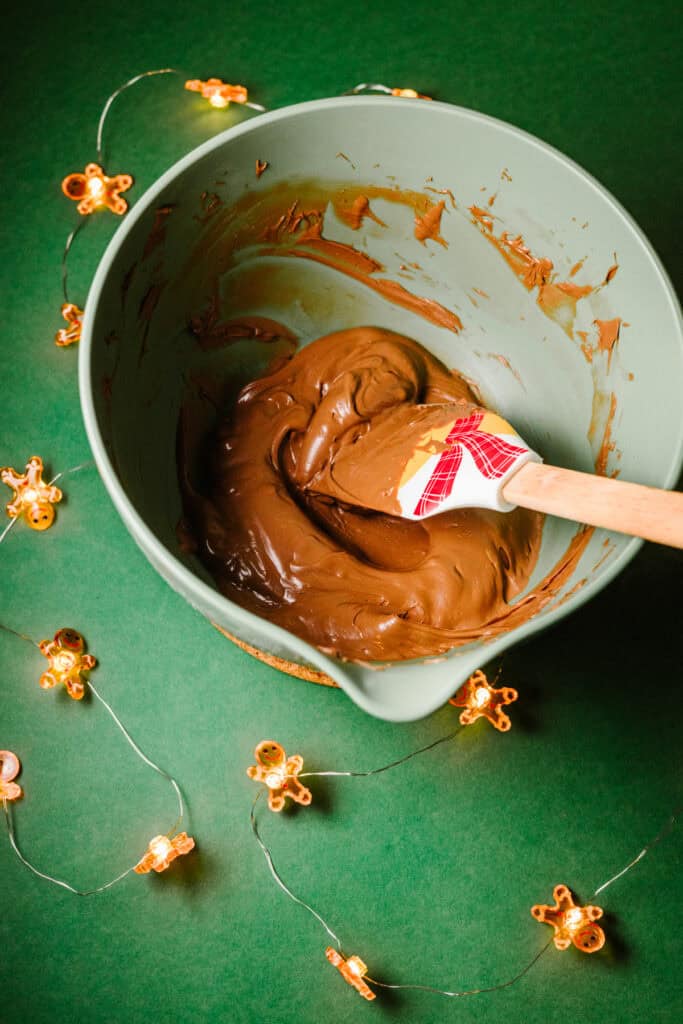
- Melt the chocolate gently until smooth.
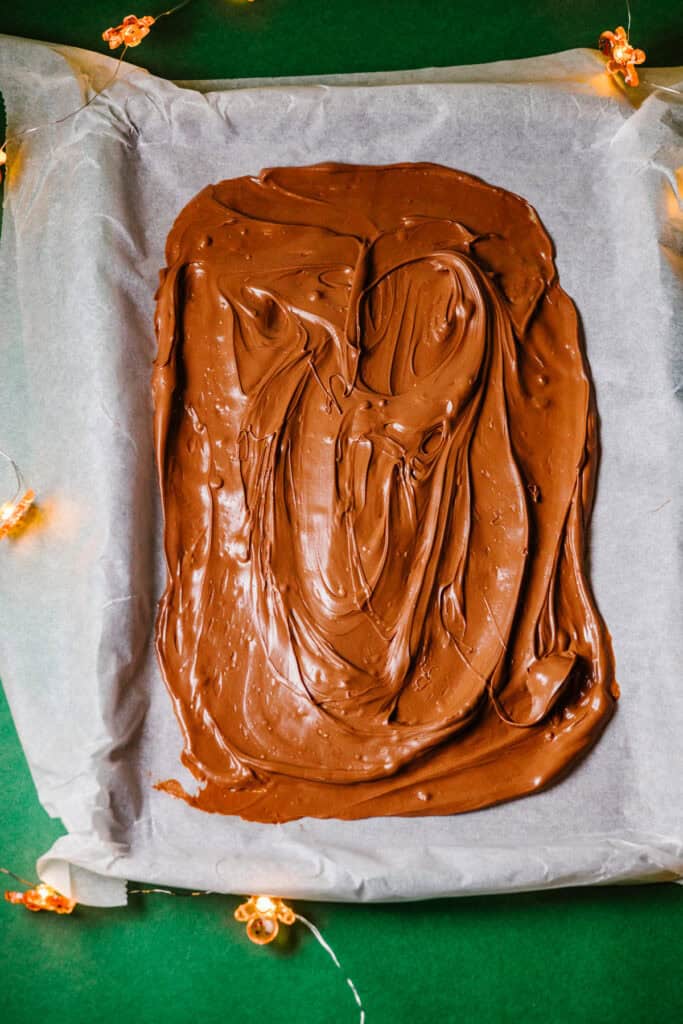
- Pour onto the parchment and spread into an even rectangle around 5 mm thick.
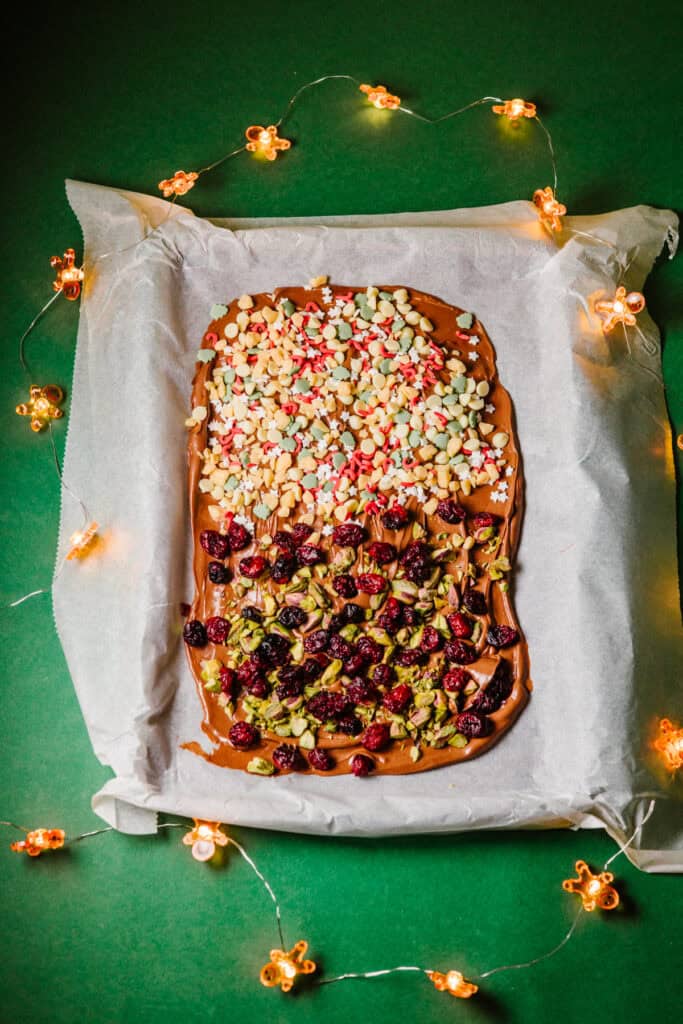
- While the chocolate is still melted, scatter over your chosen toppings.
- If you’re making more than one design like I did, decorate different sections with different toppings.
- Chill until completely firm.
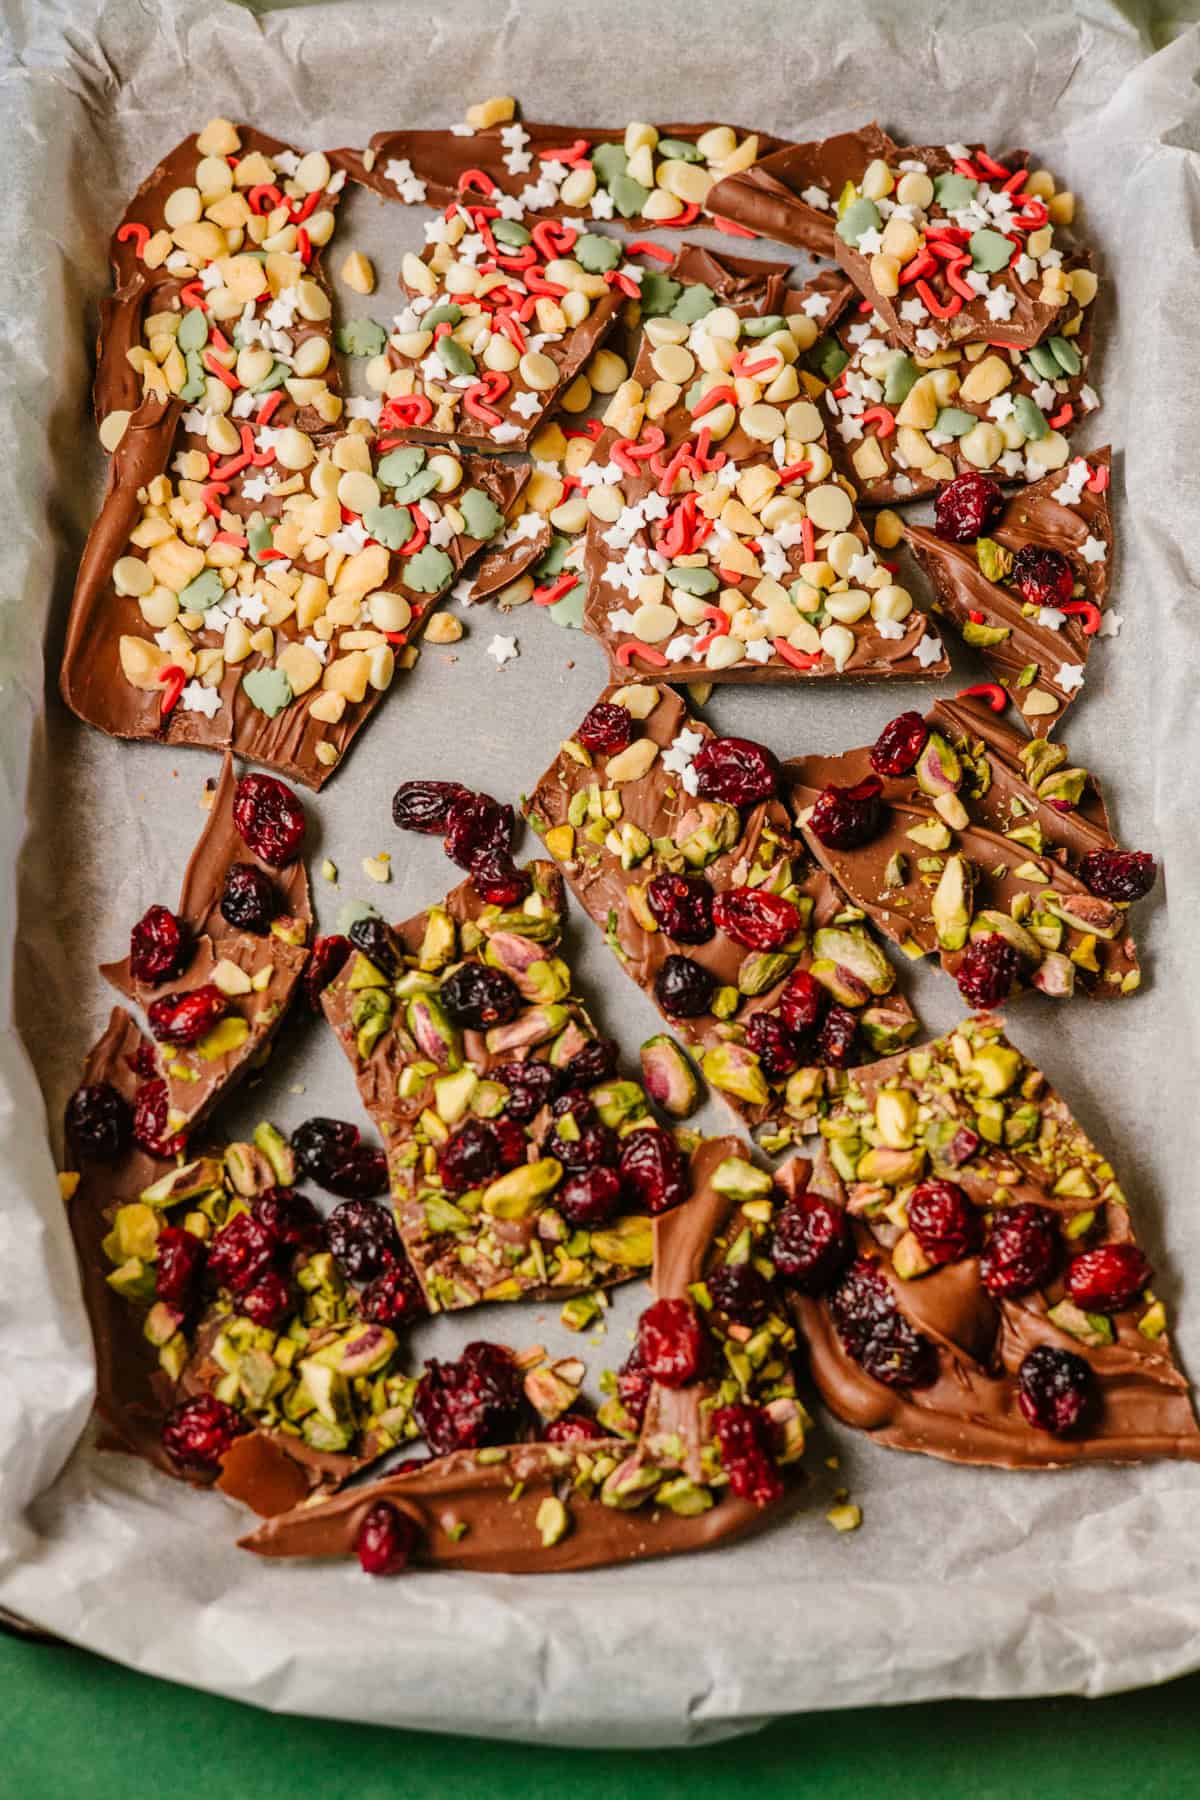
- Break into rustic shards before serving or packaging into gift bags.
Try Different Topping Combinations
One of my favourite things about chocolate bark is that no two batches ever have to look the same. 🙂
For this recipe I made two completely different styles using the same tray of chocolate.
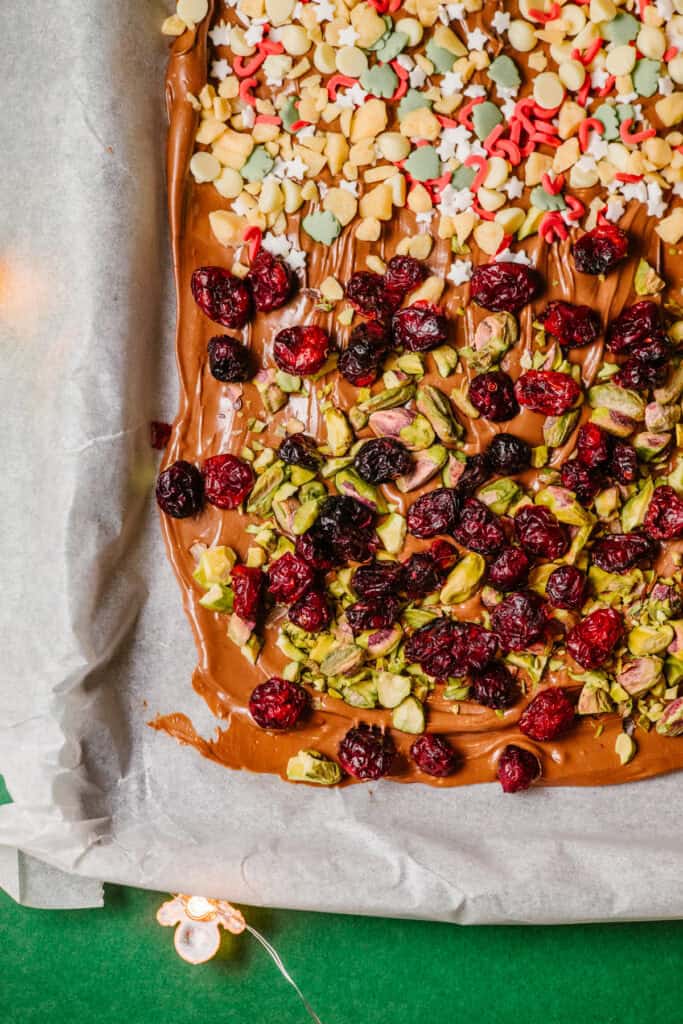
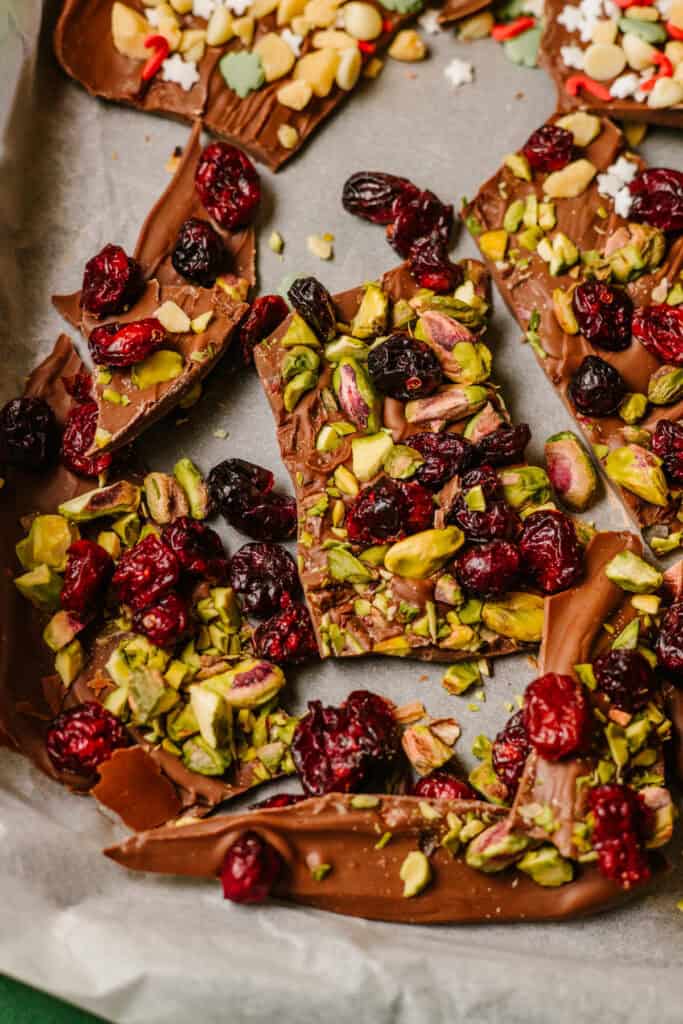
One side has chopped pistachios and dried cranberries for a classic Christmas flavour that’s slightly more grown up. The other is covered with white chocolate chips, crunchy caramel pieces and colourful festive sprinkles for something fun that children absolutely love.
Once you’ve mastered the super easy base recipe, you can create endless combinations.
Try adding:
- Crushed candy canes
- Freeze-dried raspberries/strawberries
- Mini marshmallows
- Toasted pecans
- Hazelnuts
- Almonds
- Honeycomb pieces
- Crushed pretzels
- Mini gingerbread biscuits
- Biscoff biscuits
- Mini fudge pieces
- Edible glitter
- Gold sprinkles
✨ Expert tips
Don’t overheat the chocolate or it can become grainy.
Add your toppings before the chocolate starts setting.
Gently press larger toppings into the chocolate so they stick.
Chill completely before breaking.
Decorate different sections instead of covering the whole tray with one topping. It’s an easy way to create lots of variety from one batch.
Break the bark into uneven pieces for a rustic homemade look.
🥄 Spoonie tip:
If standing in the kitchen is tiring, spread the chocolate while sitting at the table. Once it’s decorated, simply transfer the tray to the fridge and let it chill while you put your feet up.
Ways to Gift Christmas Chocolate Bark
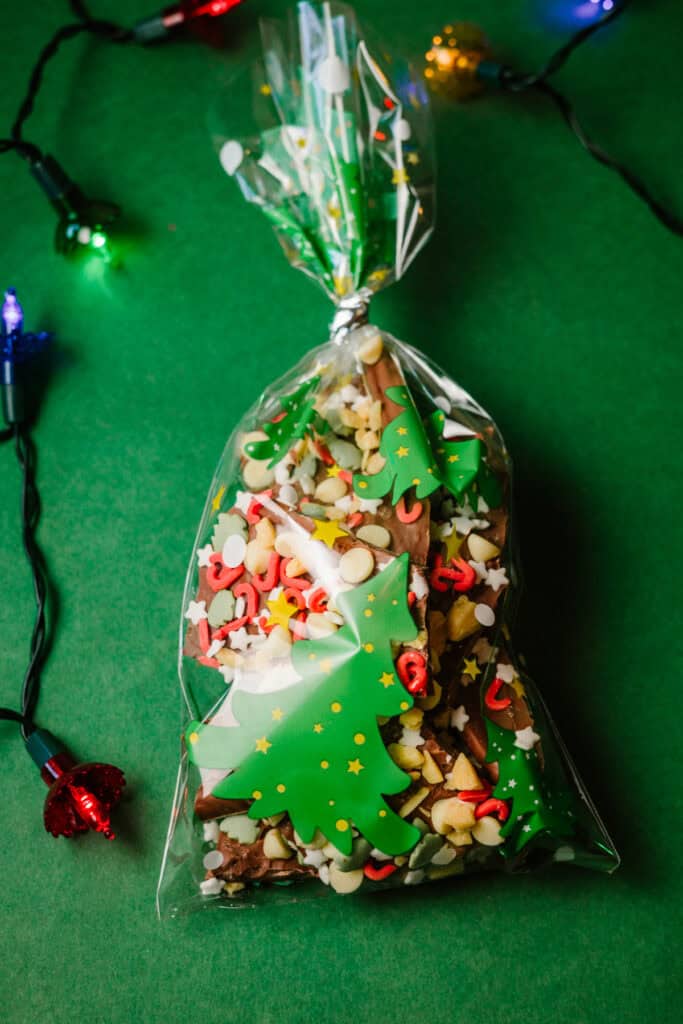
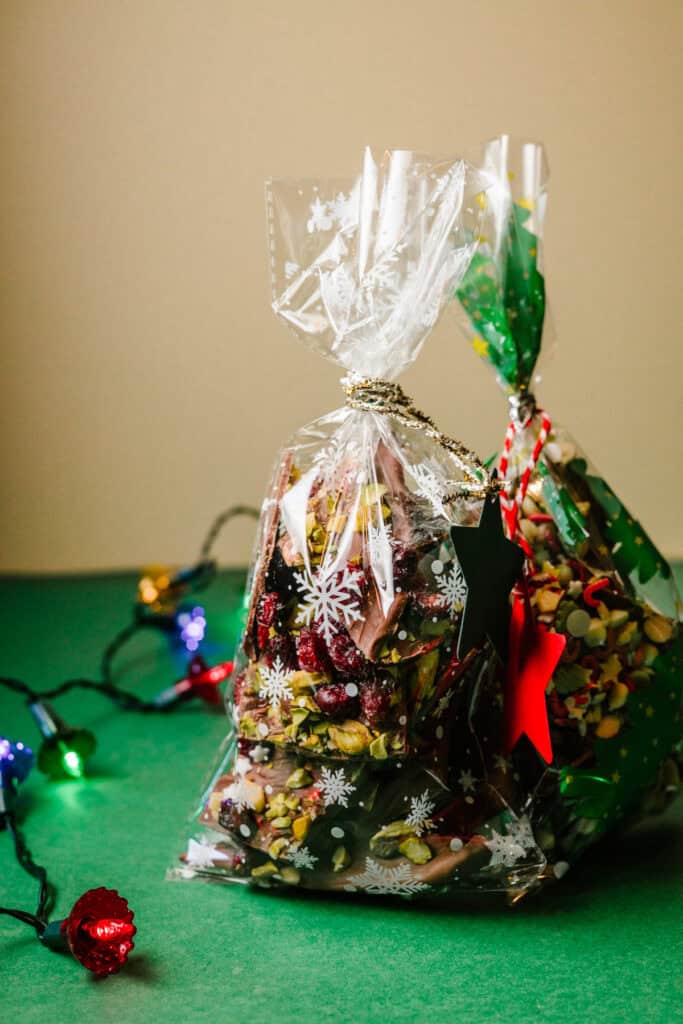
This recipe makes gorgeous edible Christmas gifts. I like filling clear cellophane bags with a mixture of both topping combinations so everyone gets a little variety.
It’s also perfect for:
- Homemade Christmas hampers
- Teacher gifts
- Secret Santa presents
- Christmas Eve boxes
- Stocking fillers
- Dessert platters
- Coffee and dessert after your Christmas dinner
Storage
Store your chocolate bark in an airtight container somewhere cool for up to two weeks. If your kitchen is warm, keep it in the fridge and let it sit at room temperature for five to ten minutes before serving. It can also be frozen for up to three months.
Frequently Asked Questions ❓
Absolutely. Milk, dark or white chocolate all work beautifully, or you can swirl two different chocolates together before decorating.
Yes. Chocolate bark keeps really well, making it ideal for preparing edible gifts well before Christmas.
This is called chocolate bloom. It happens when chocolate gets too warm or cools too quickly. It might not look quite as glossy, but it’s still perfectly safe to eat.
Definitely. Once the chocolate has been melted by an adult, children can have great fun decorating it with their favourite toppings.
Related Recipes 🎄
If you’re filling homemade Christmas hampers, these recipes pair perfectly with this chocolate bark:
- Homemade Irish Whiskey Fudge
- Nut Free Vegan Chocolate Truffles
- Homemade Mincemeat with Whiskey
- Candied Spiced Nuts
- Homemade Advocaat
- No Bake Christmas Biscoff Fifteens
- Mulled Wine Syrup
More Homemade Christmas Gift Ideas
If you love making edible gifts, this chocolate bark is a brilliant place to start. It’s quick, affordable and easy to personalise depending on who you’re making it for.
I often package a few pieces alongside my Homemade Irish Whiskey Fudge, Candied Spiced Nuts or Nut Free Vegan Chocolate Truffles to create a homemade Christmas gift that feels thoughtful without taking all day to make.
Leave a Comment
Let me know, did you make this Christmas chocolate bark? 🥰
I’d love to know which topping combination you tried, or if you came up with your own festive creation.
Please leave a comment below and a star rating if you enjoyed the recipe. If you share your chocolate bark on social media, don’t forget to tag @karolynlowe so I can see your beautiful festive bakes. Tell your friends! 🎄
Christmas Chocolate Bark
Ingredients
- 500 g milk chocolate
- 40 g pistachios roughly chopped
- 30 g dried cranberries
- 30 g white chocolate chips
- 20 g crunchy caramel pieces
- 20 g Christmas sprinkles
Equipment
- Heatproof bowl
- Small saucepan (if melting over water)
- Silicone spatula
- Small baking tray or chopping board
- Baking parchment
- Sharp knife (optional)
Instructions
- Line a small baking tray or chopping board with baking parchment.
- Break the chocolate into pieces and melt gently over a pan of barely simmering water or in short bursts in the microwave, stirring until smooth.
- Pour the melted chocolate onto the prepared tray and spread into an even layer about 5mm thick.
- Scatter your chosen toppings over the melted chocolate while it’s still soft.
- For the bark shown in these photos, I decorated half with chopped pistachios and dried cranberries, and the other half with white chocolate chips, crunchy caramel pieces and festive Christmas sprinkles.
- Gently press the larger toppings into the chocolate so they stick.
- Transfer to the fridge and chill for about 1 hour, or until completely firm.
- Break into rustic shards and serve or package into gift bags.
Nutrition
Notes
- Decorate different sections with different toppings to create a variety of flavours from one batch.
- Don’t overheat the chocolate while melting.
- Melt the chocolate gently for the smoothest finish.
- Use good-quality chocolate for the best flavour.
- Add toppings immediately before the chocolate begins to set.
- Mix and match toppings to make every batch unique.
- Chill completely before breaking into pieces.
- Store somewhere cool to prevent the chocolate softening.
- Package in cellophane bags or gift boxes for homemade Christmas gifts.
Storage
- Store in an airtight container in a cool place for up to 2 weeks. If your kitchen is warm, keep it in the fridge.
- Freeze in an airtight container for up to 3 months.
- Separate layers with baking parchment to stop the pieces sticking together.
Serving Suggestions
Perfect for:- Homemade Christmas hampers
- Edible Christmas gifts
- Christmas dessert platters
- Coffee after Christmas dinner
- Christmas Eve treats
- Party food
- Stocking fillers
- Festive grazing boards